New backpack
- This project first appeared at @ma3ke@hachyderm.io on .
- This article was created on .
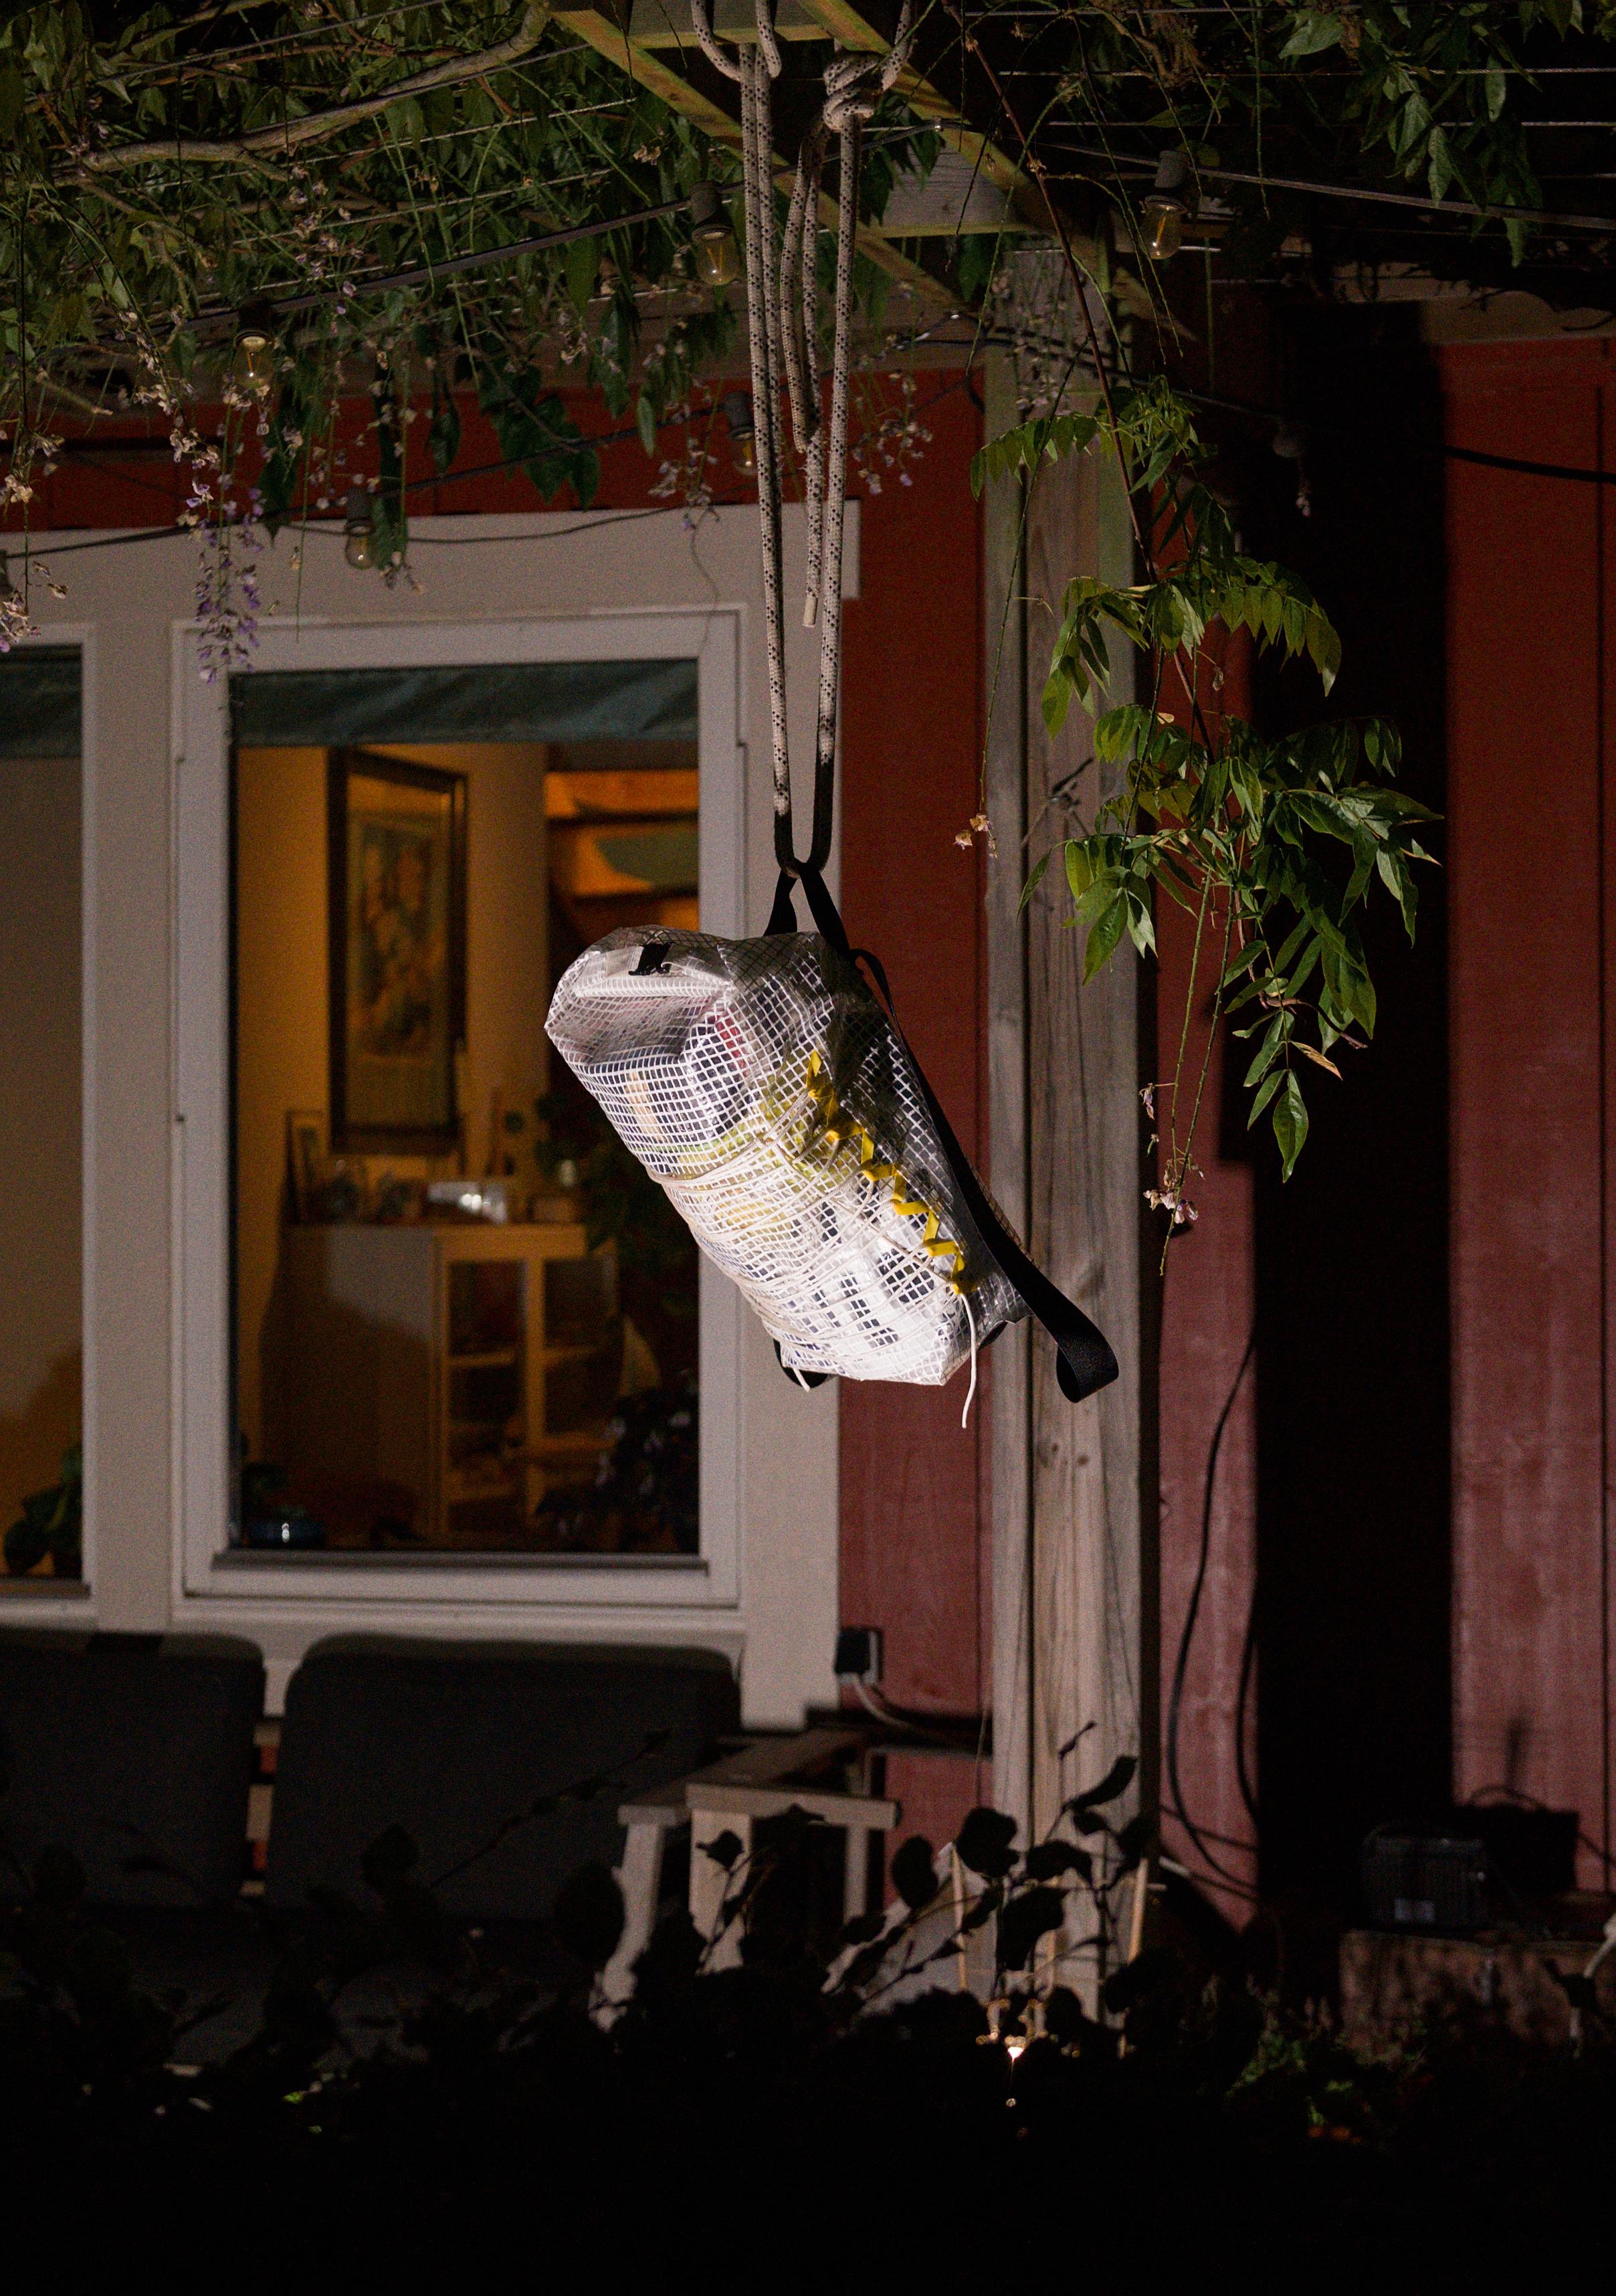
After my initial experience with the transparent tarp material I used to make a large bag, I made a new backpack. I based the design on the sailcloth backpack I made a couple years ago. I love that bag dearly, and I have been very impressed with how it has held up as a core item in my life. Since I was not looking to replace it, I decided to expand the dimensions of this new backpack, compared to my sailcloth bag. I have been interested in something larger for when I ride my bike to places of friends and family or when I'm traveling internationally.
I made this bag on a Sunday, at my parent's home. I finished it late that night. The next day, I rode my bike back to work in Groningen and used the bag for the first time.
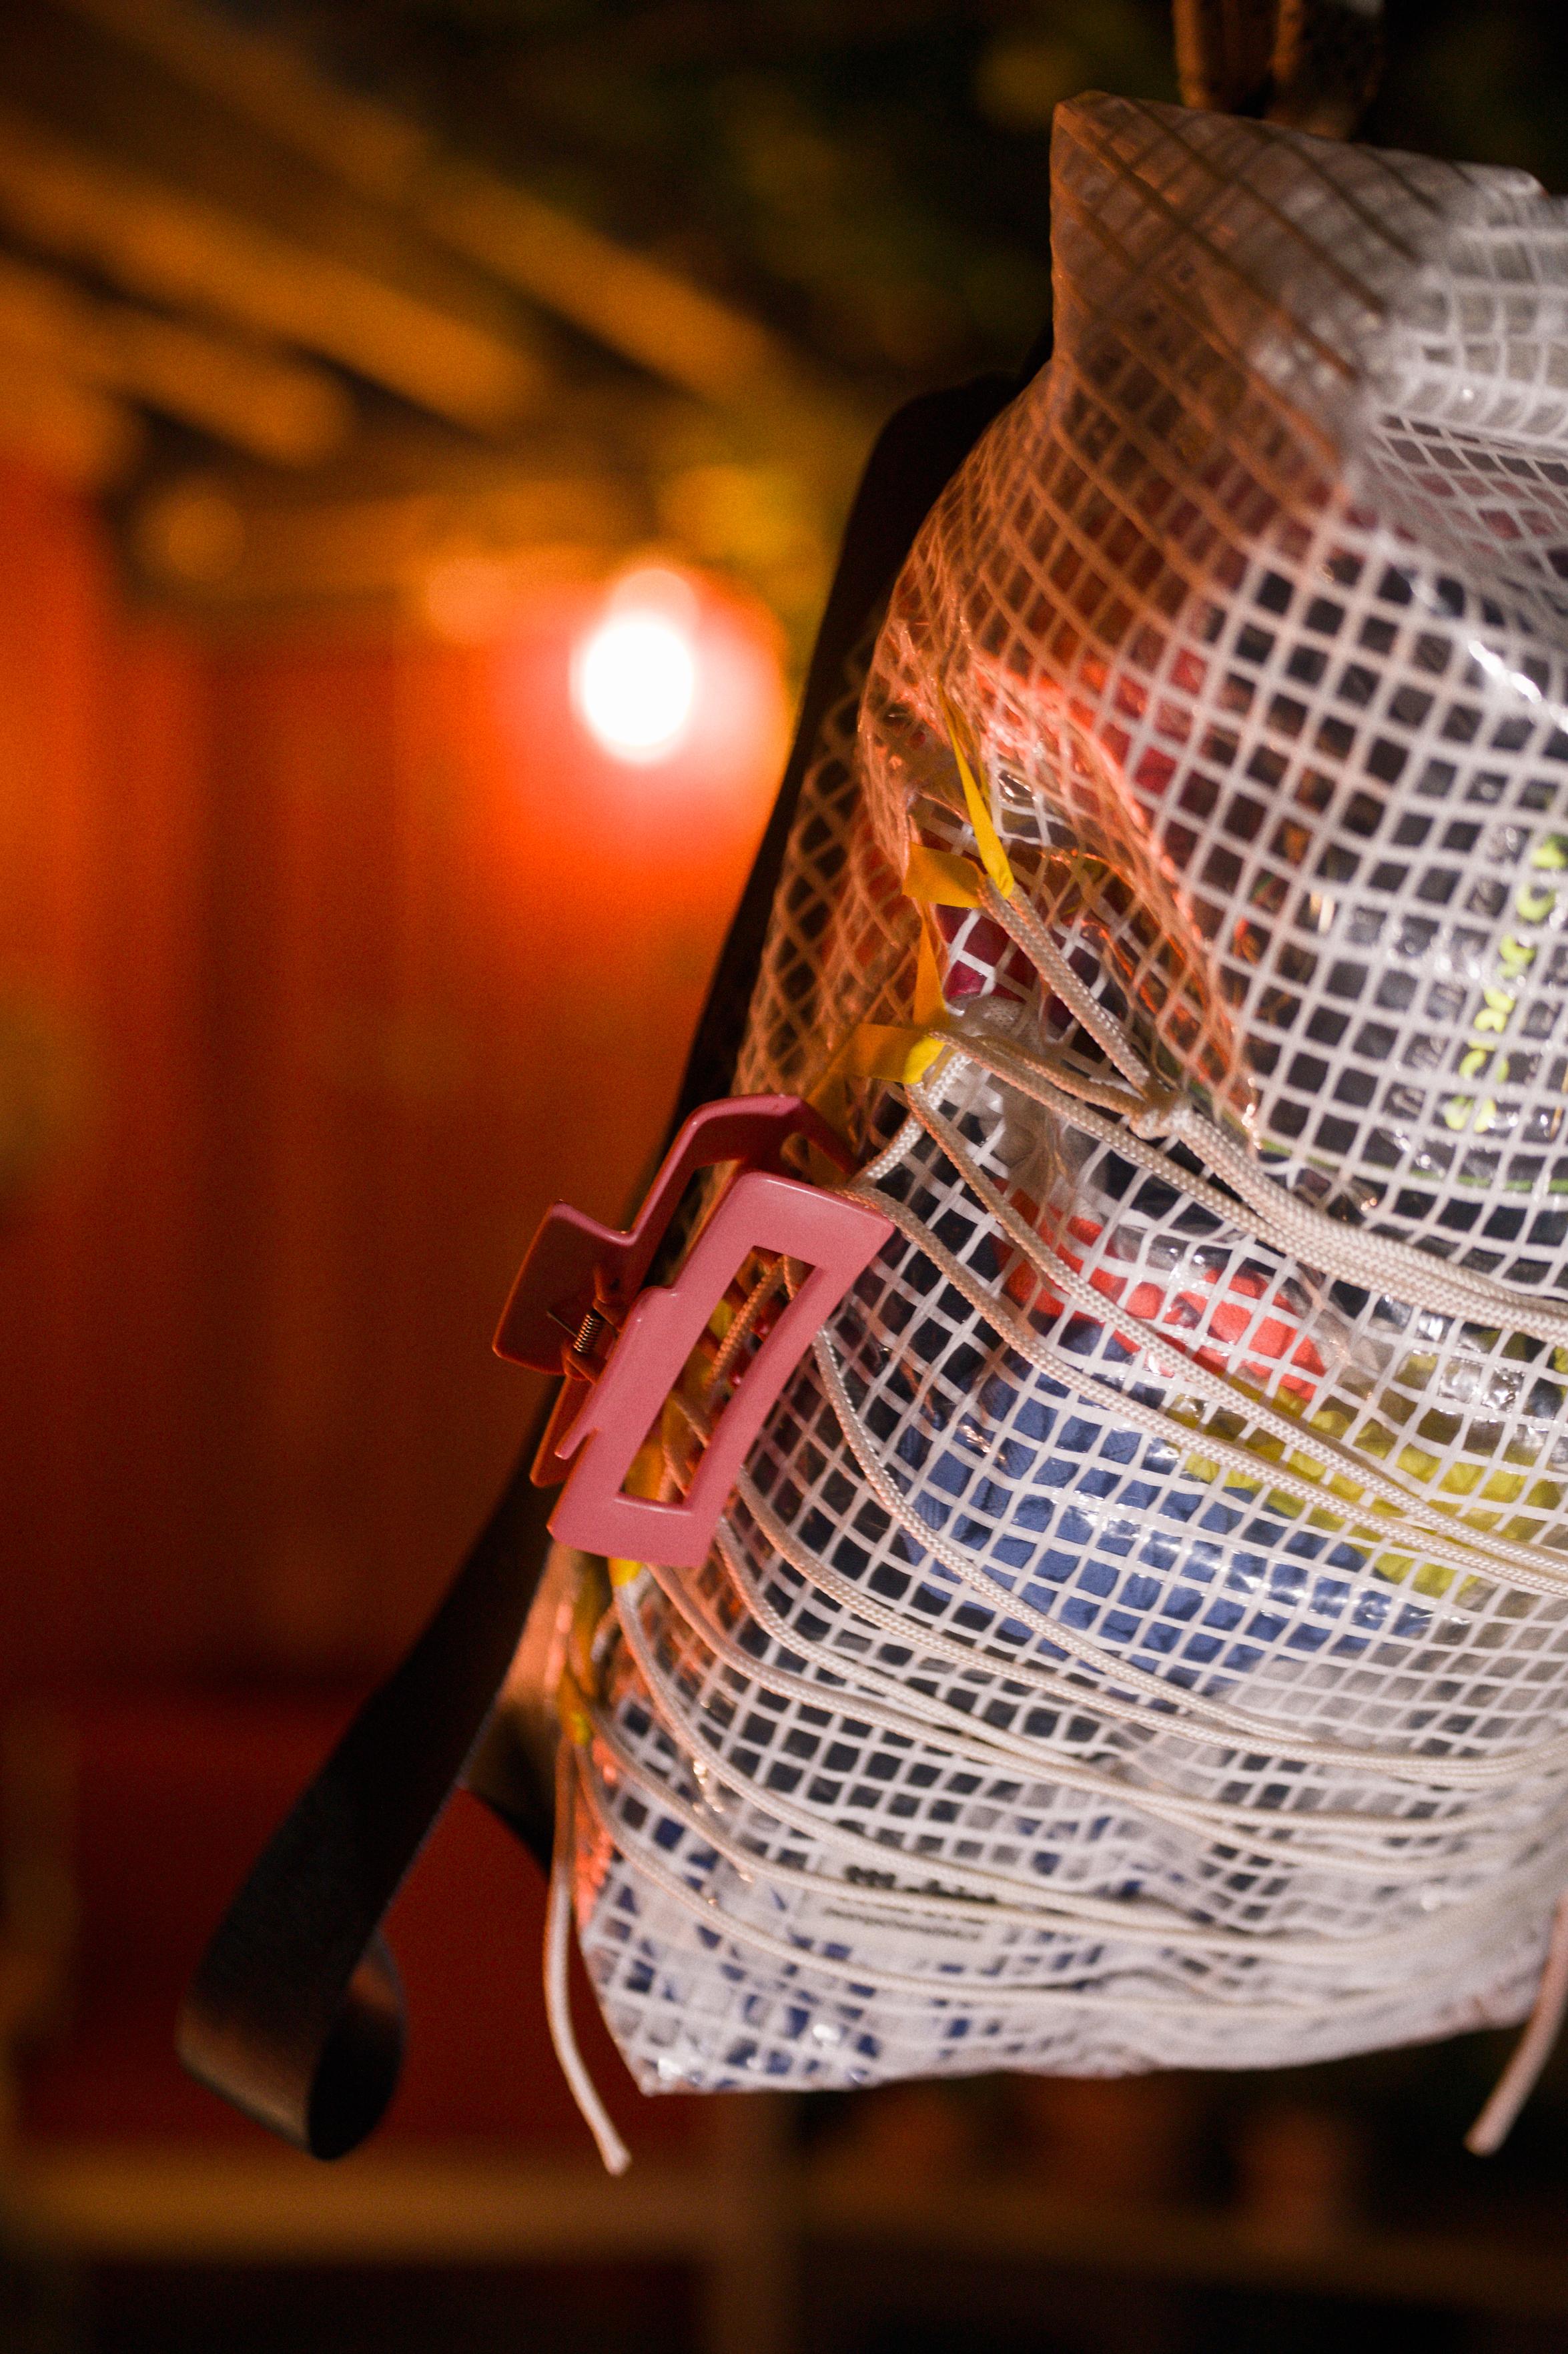
In brief, the bag is constructed from a long rectangular section of the transparent tarp, folded in half and with its sides stitched together. Before stitching the side seams, I attached the top anchoring for the backpack straps. This anchoring was strengthened by sewing a piece of bonded fabric into the interior side of the panel. To strengthen the side seams I applied thin strips of double-sided tape. This was very useful in securing the pieces of yellow webbing that form the loop rows before sewing them into place. Through these yellow loops, I weaved a white cord, which is helpful when I strap my civilian shoes to my bag when I'm going somewhere on the bike.
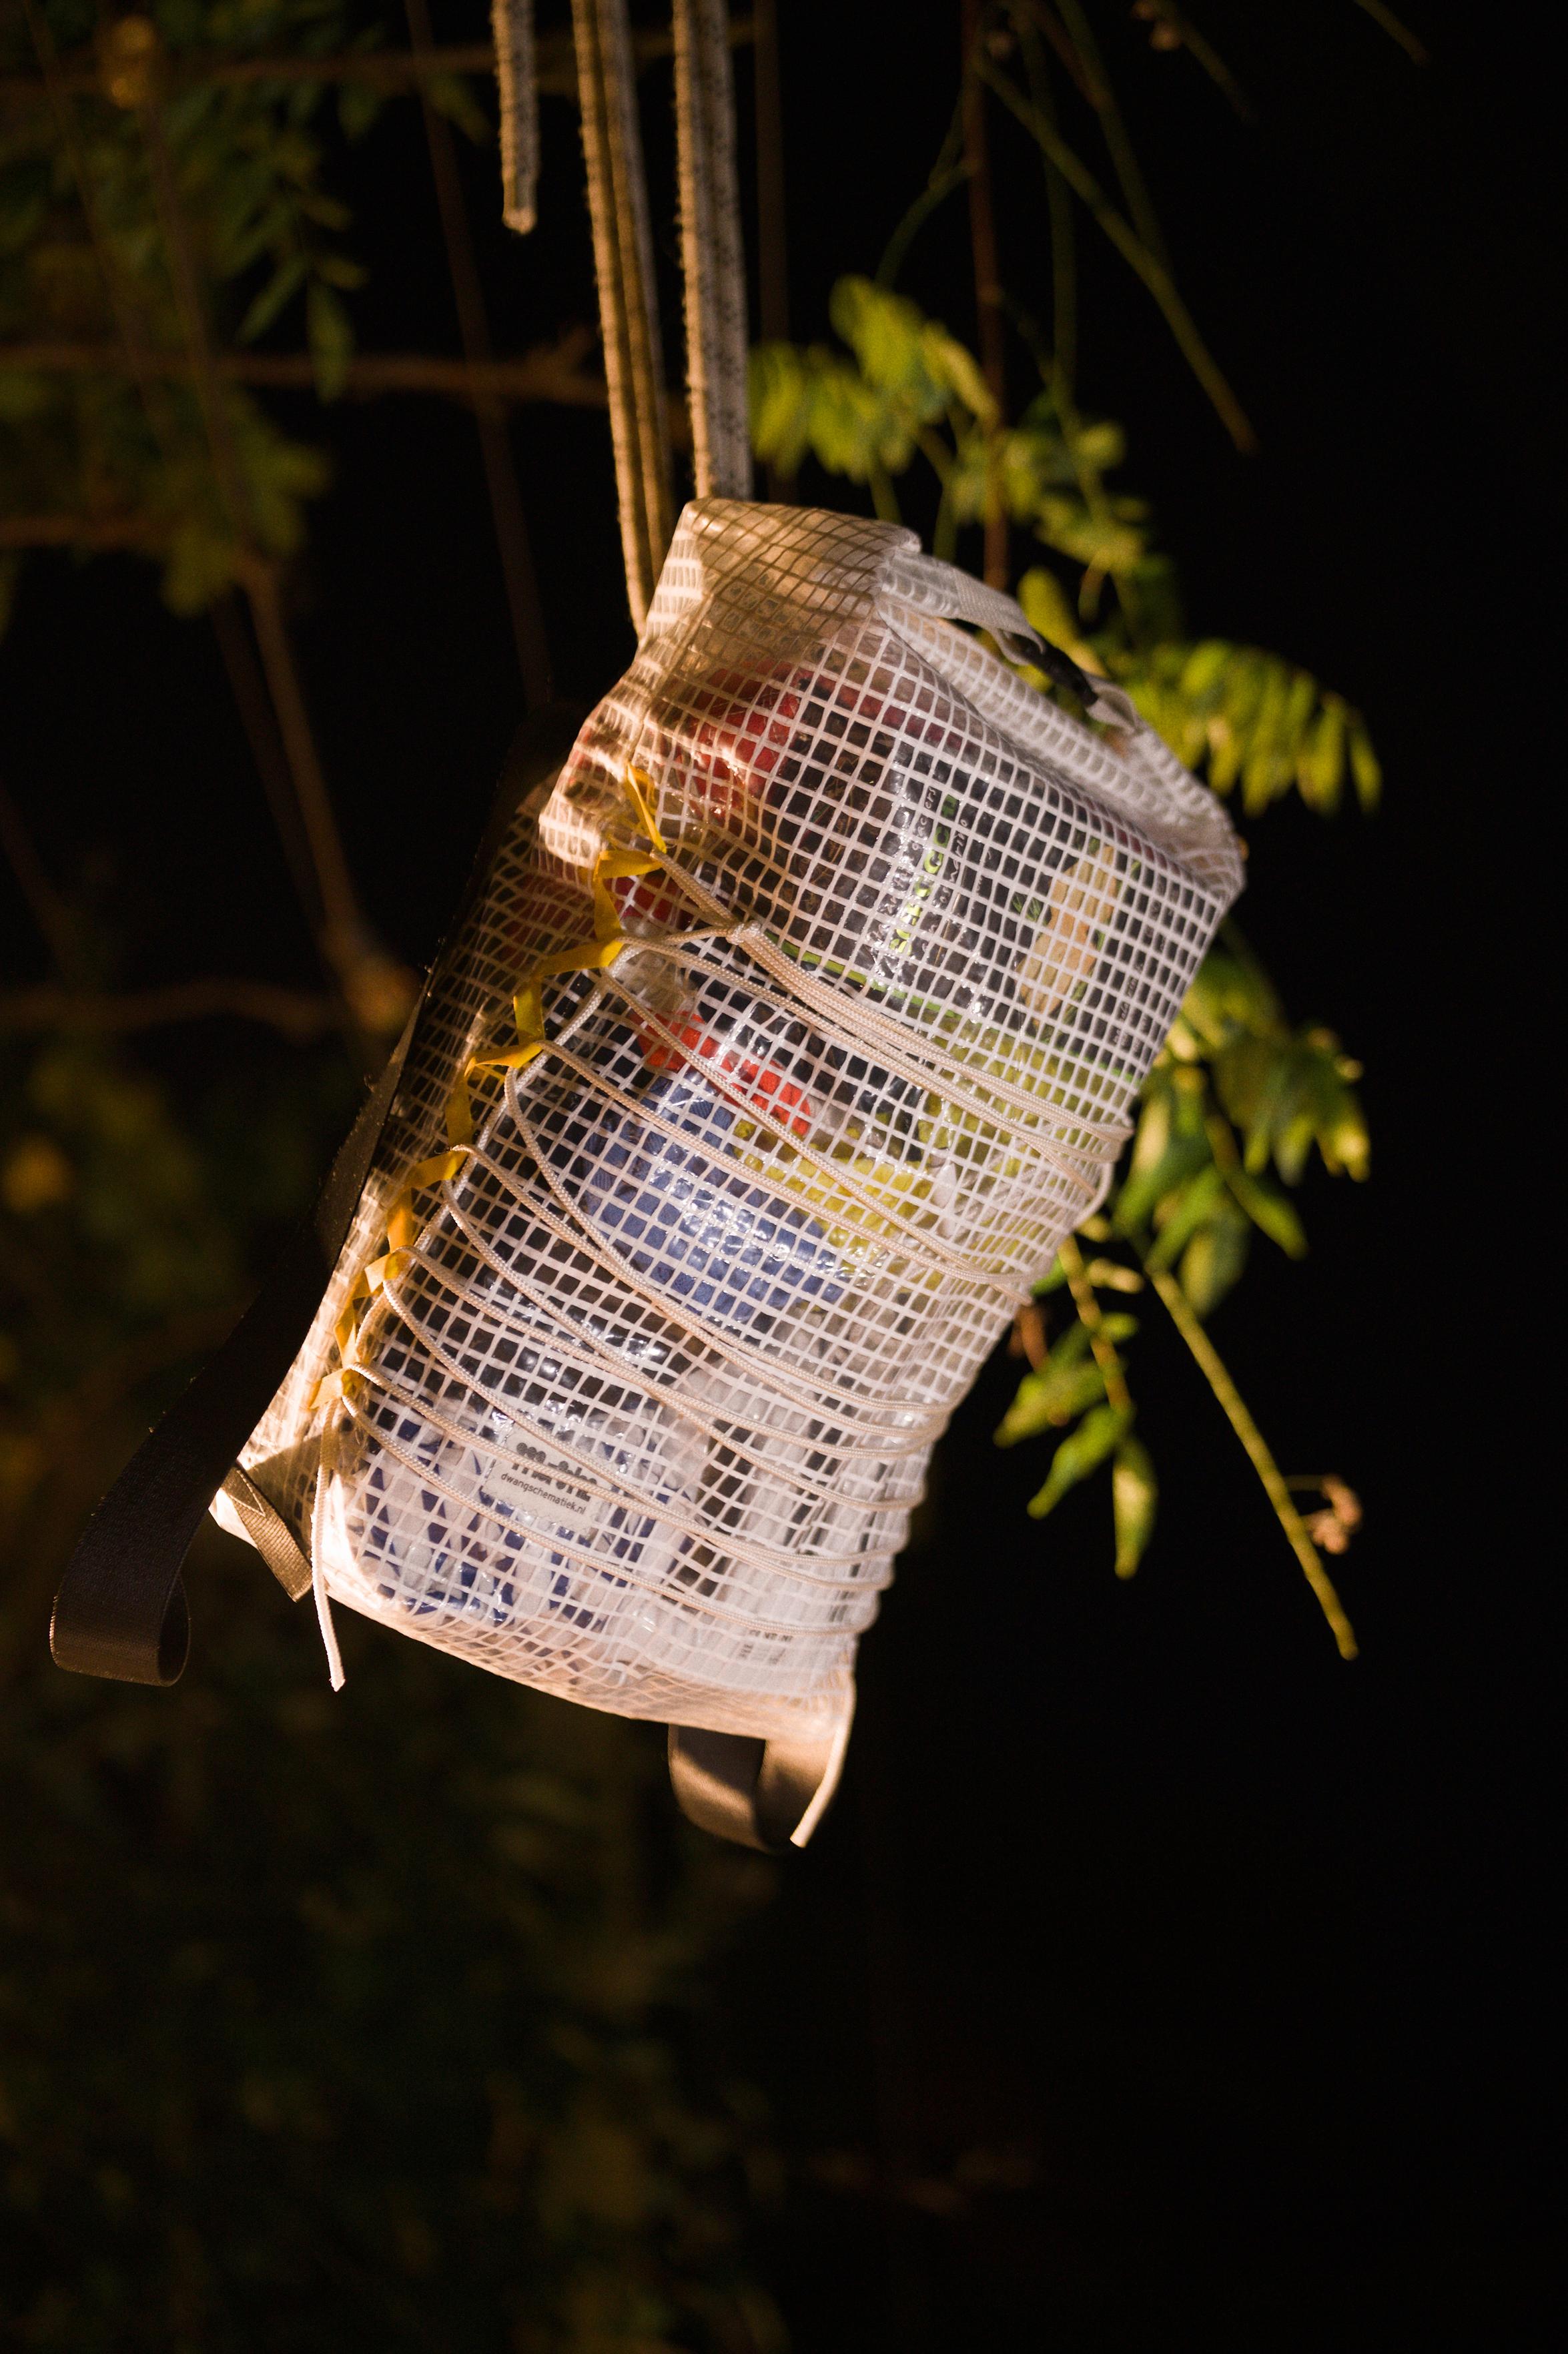
I created simple boxed corners by sewing a triangle in each bottom corner. Before stitching, I inserted two pieces of a strong bonded fabric that would serve as the anchors for the bottom of the straps. In merely four seams, the basic construction of the backpack was done. From the top to the bottom and back to the top again, the bag in constructed from a continuous section of tarp. This best leverages the strength of the material by not interrupting it with seams.
To better weather seal these seams, I applied clear packing tape to the inside edges and the edge of the strengthened section for the top strap anchor. For the side and bottom seams, this also sets in place the folded the seam allowance to create a smooth interior.
I prepared a section of a strong fabric strip to strengthen the top rim along the opening of the bag. First, I sewed on my label onto the strip. Then, I stitched the strip onto the rim all along the top and then the bottom edge of the fabric band. This provides a nice and crisp edge for the roll-top opening of the backpack, and allows for the secure attachment for the webbing that connects to the closure hardware. The backpack is closed by rolling the top and folding over the ends onto the top and pushing the closure shut.
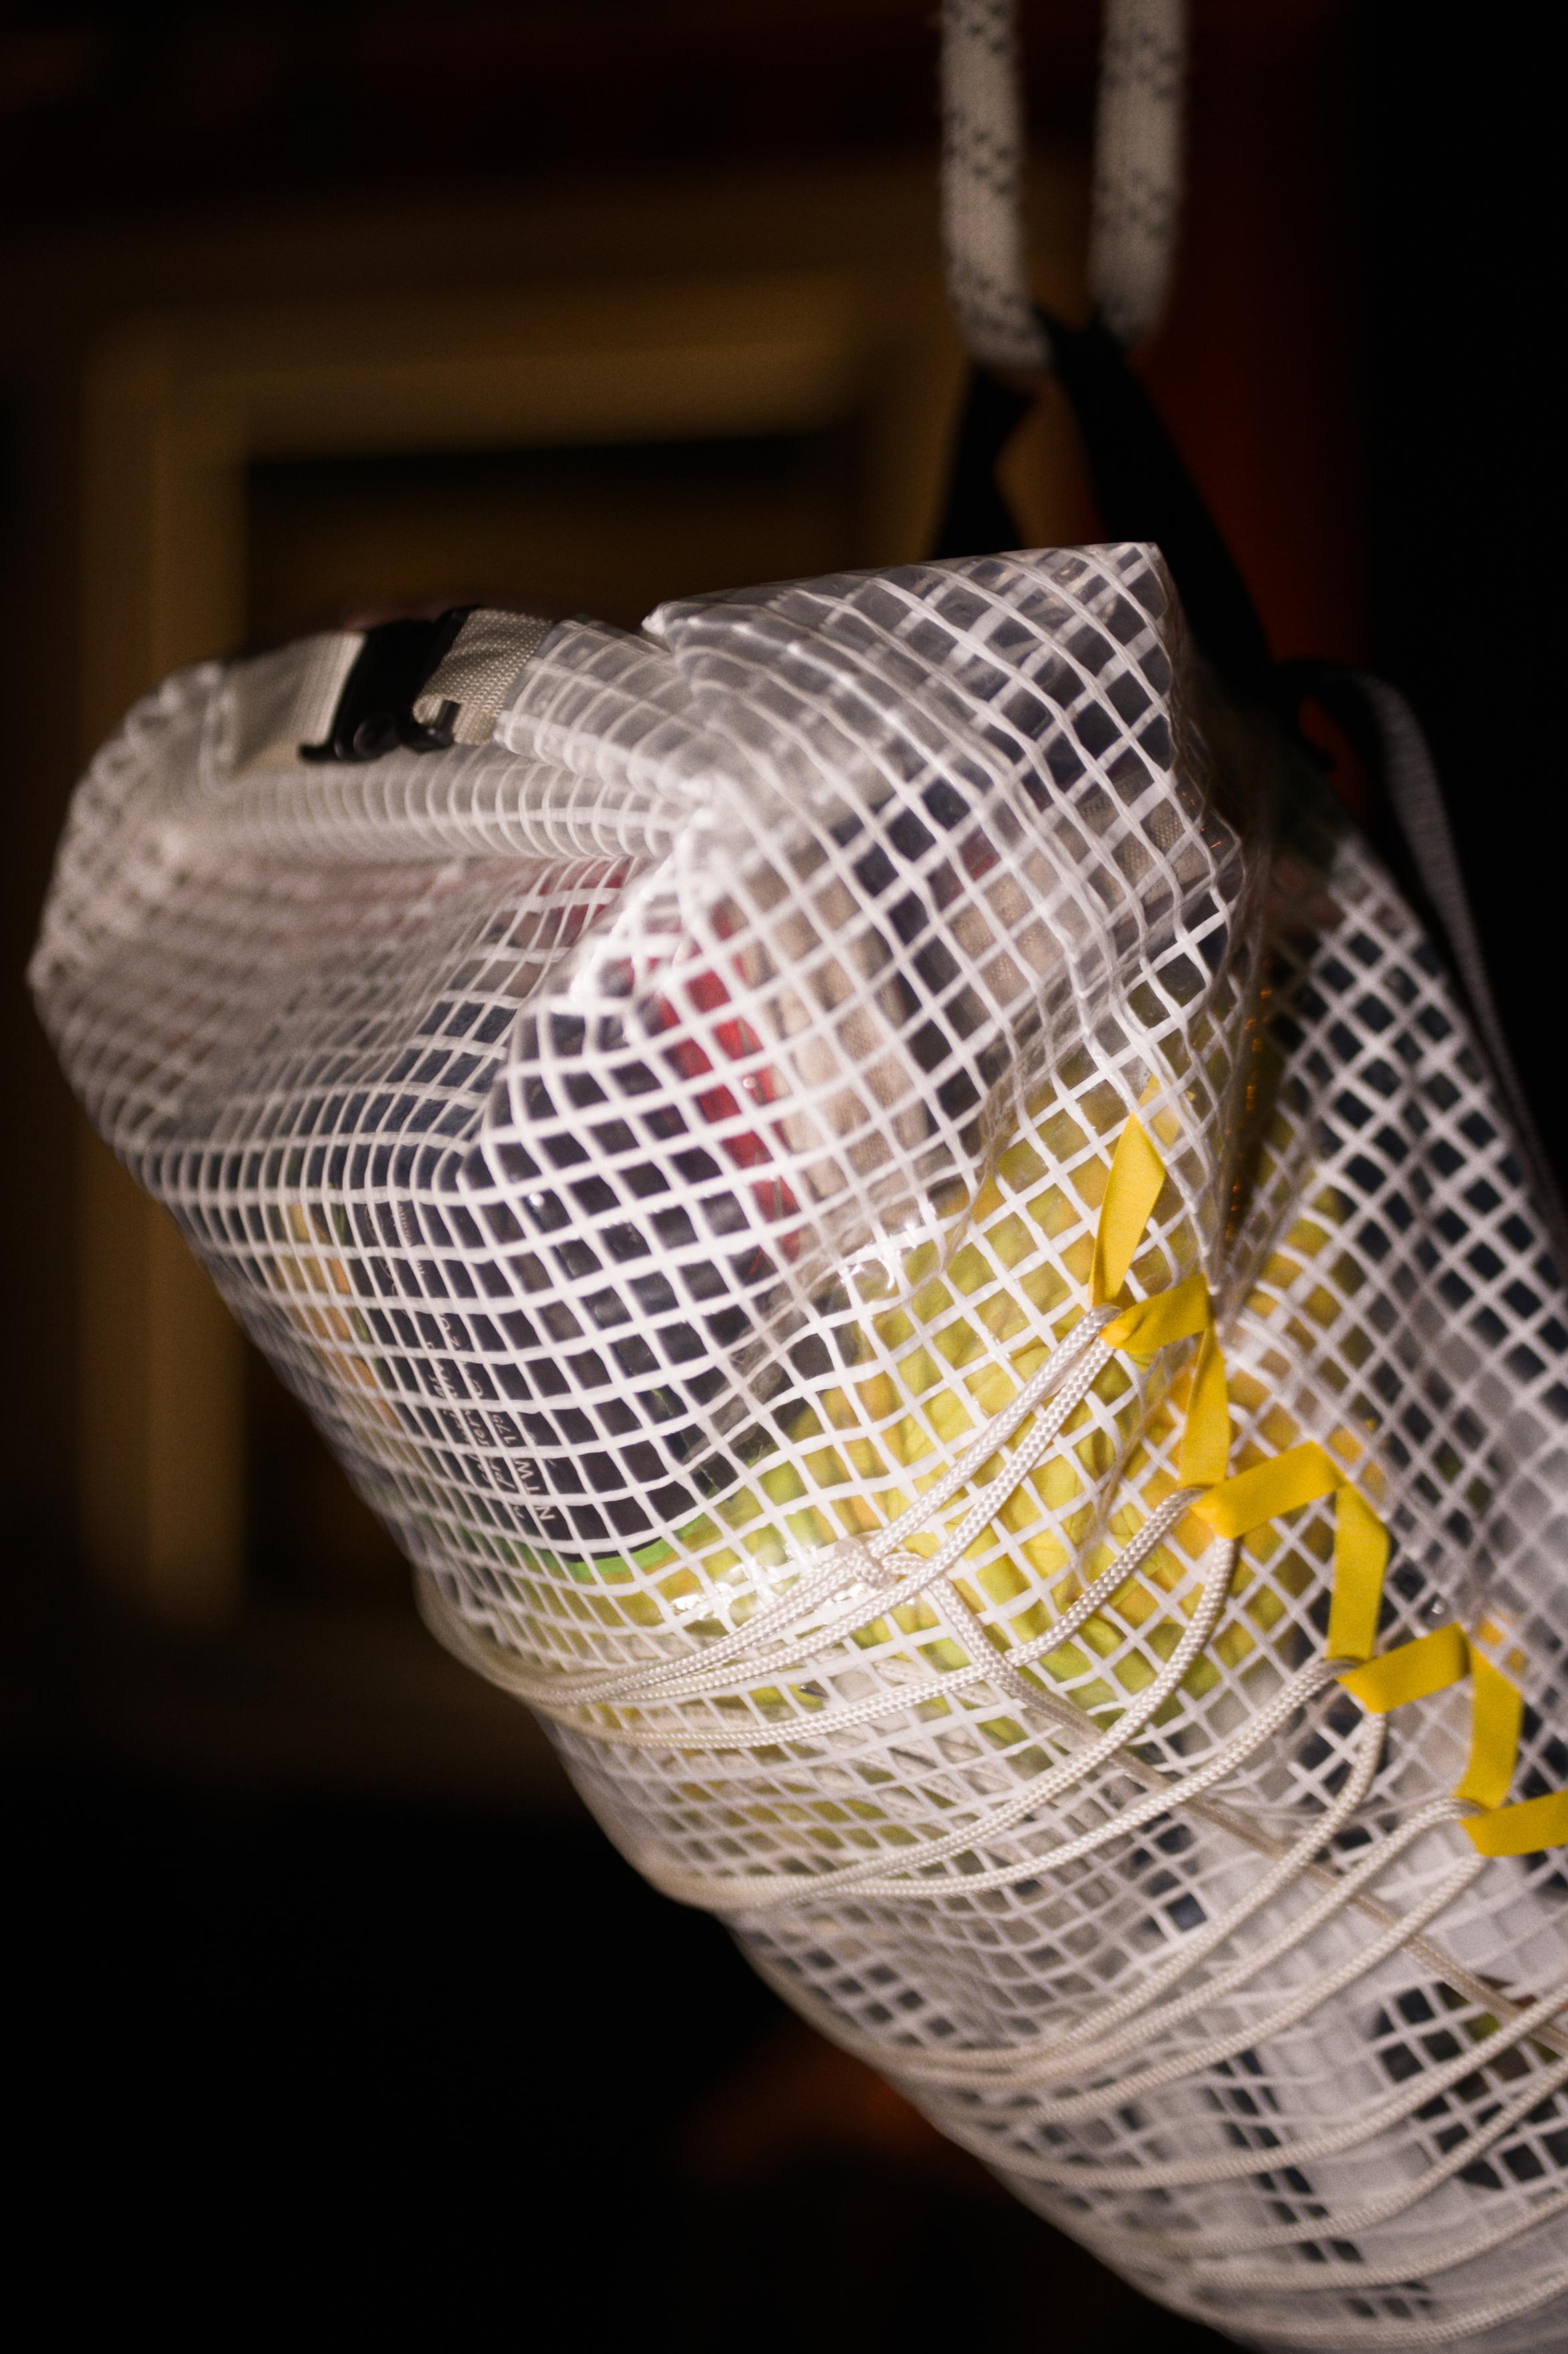
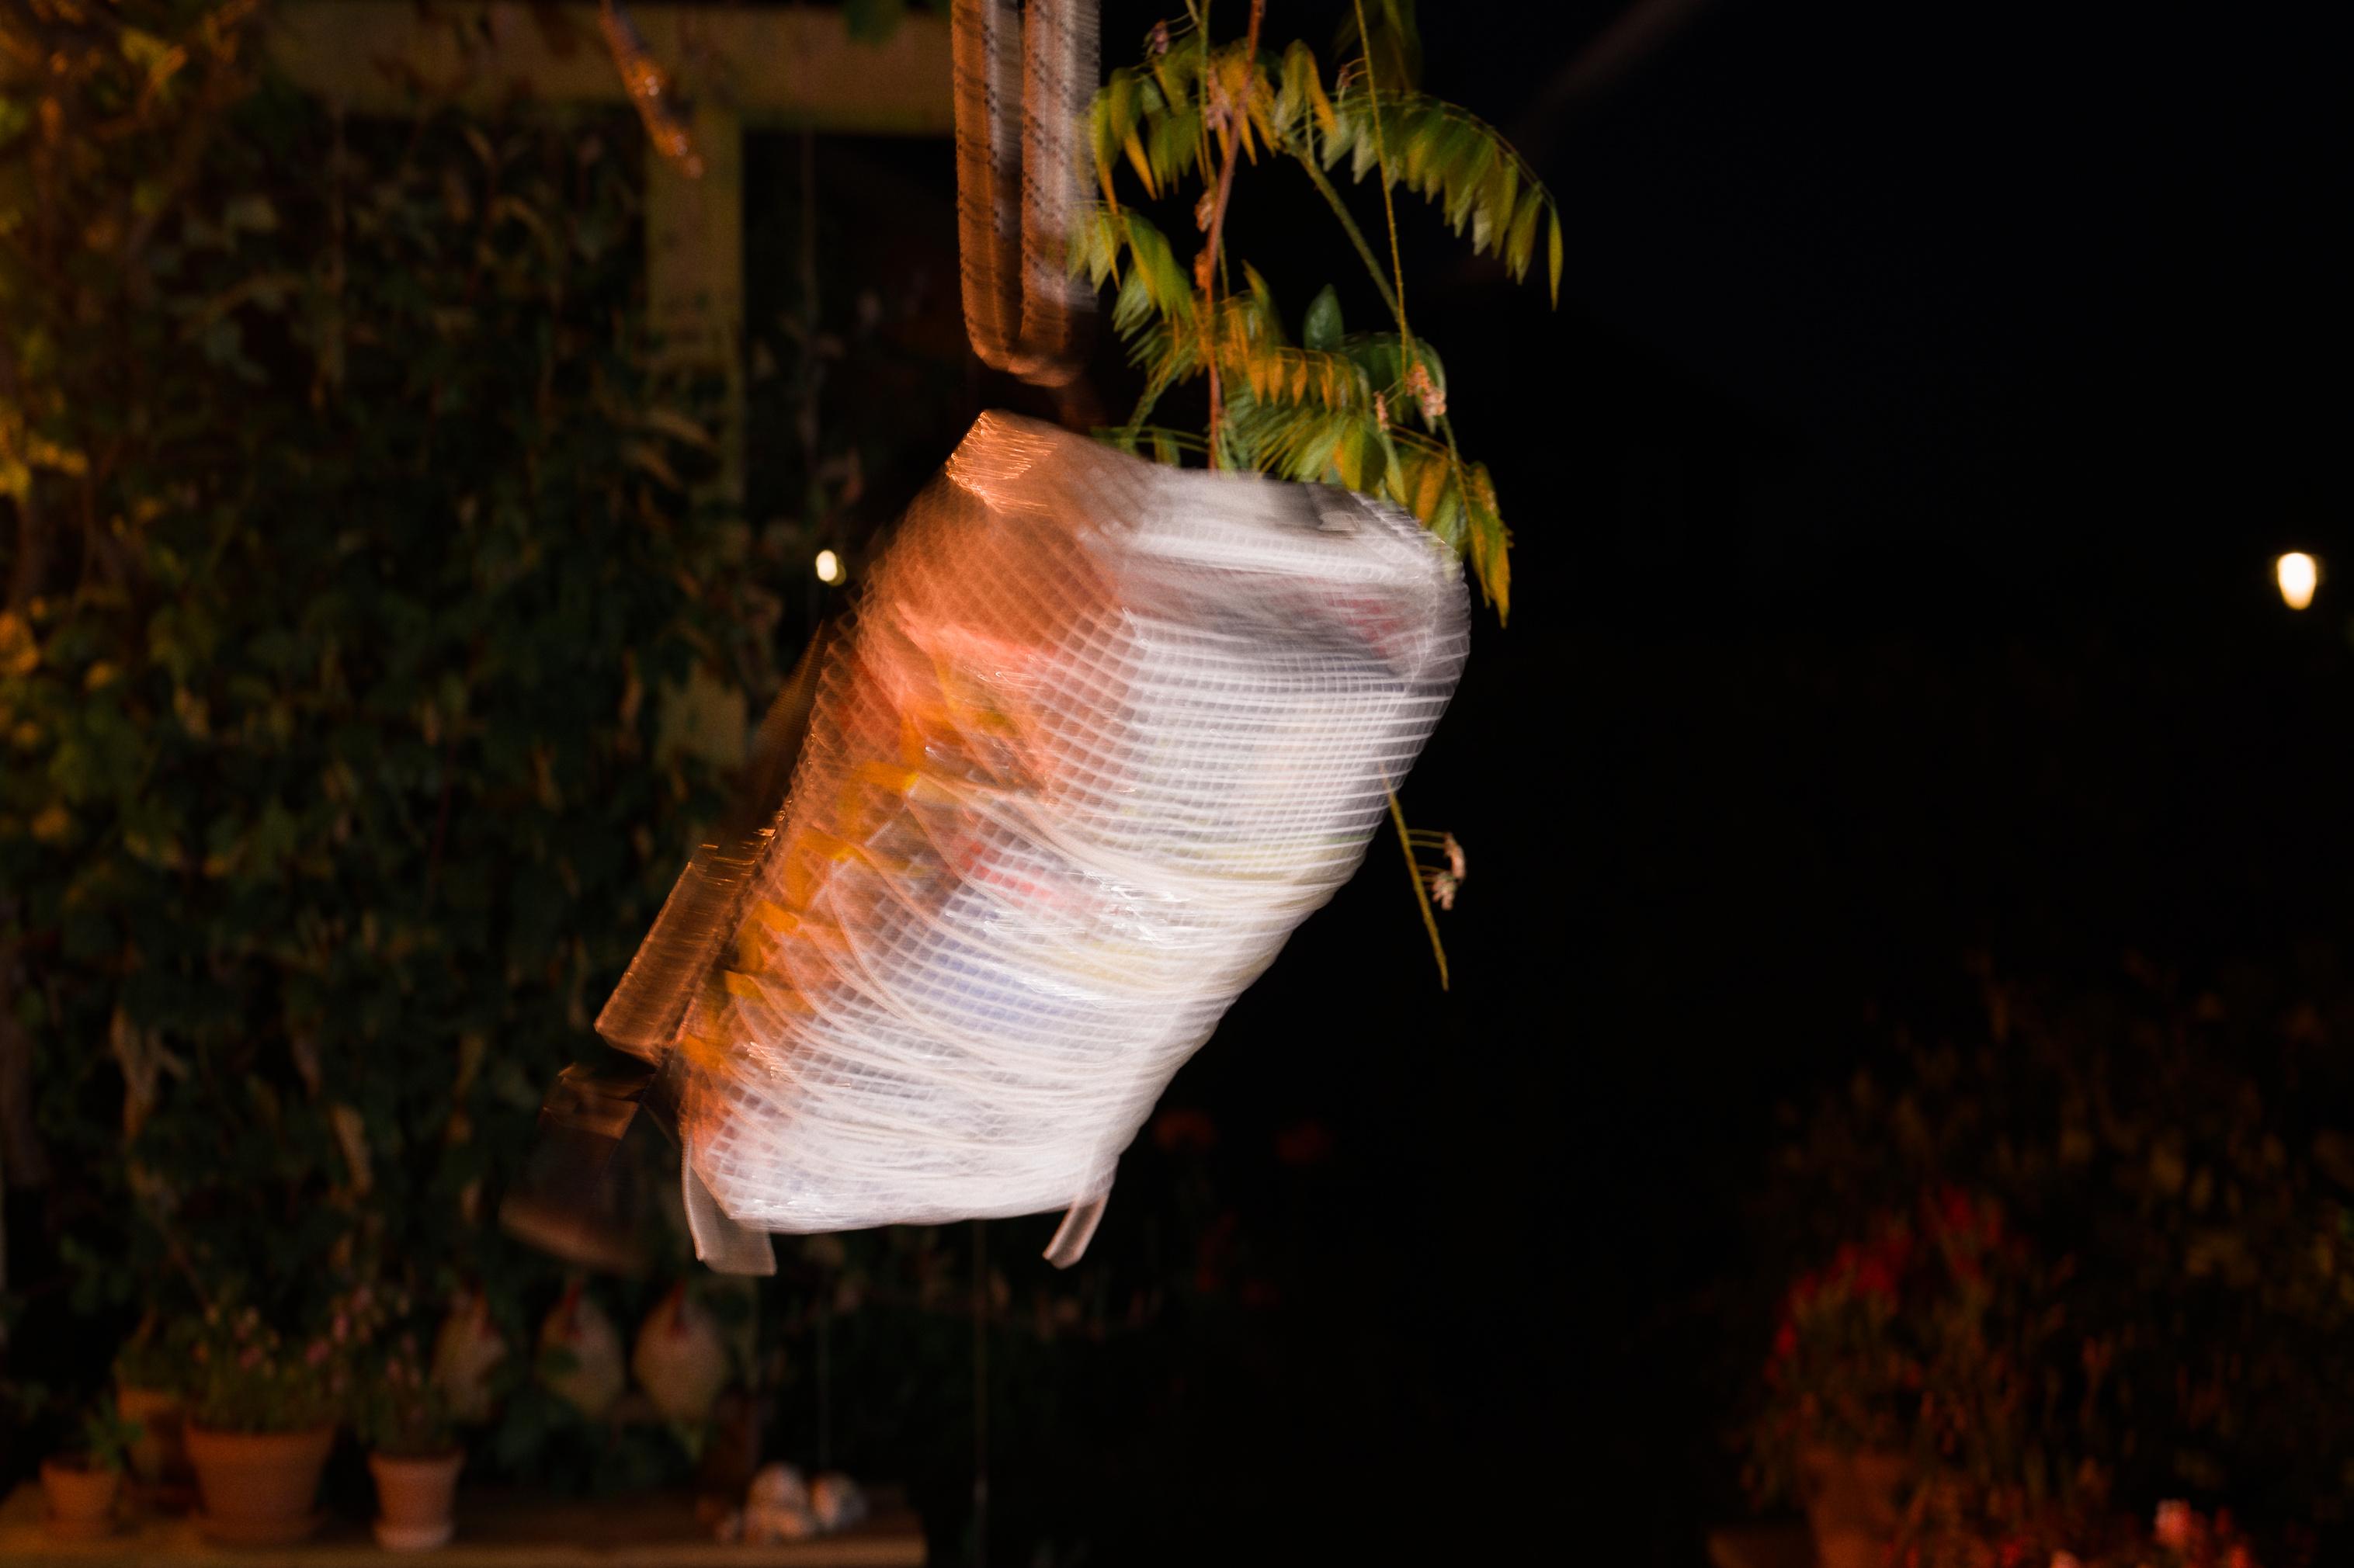
I really enjoy how it turned out. It performs very well and I am delighted by its transparent walls. Being able to see what I have in my bag at a glance is fun and it helps me find some things. I do wish I had added at least one exterior or interior pocket. I decided against that because I was taking a lot of time to consider the right way to do that but never came to a satisfying answer. Though moving on and just creating the backpack was the right choice, compared to fretting over the choice and not managing to finish it, I am thinking of ways to tack on something still. I can find even small things quick enough, but it is annoying. Basically, I want a little slot for my phone, bank card, zines, and passport.