Yesterday, I repaired the sailcloth backpack I made a couple years ago.
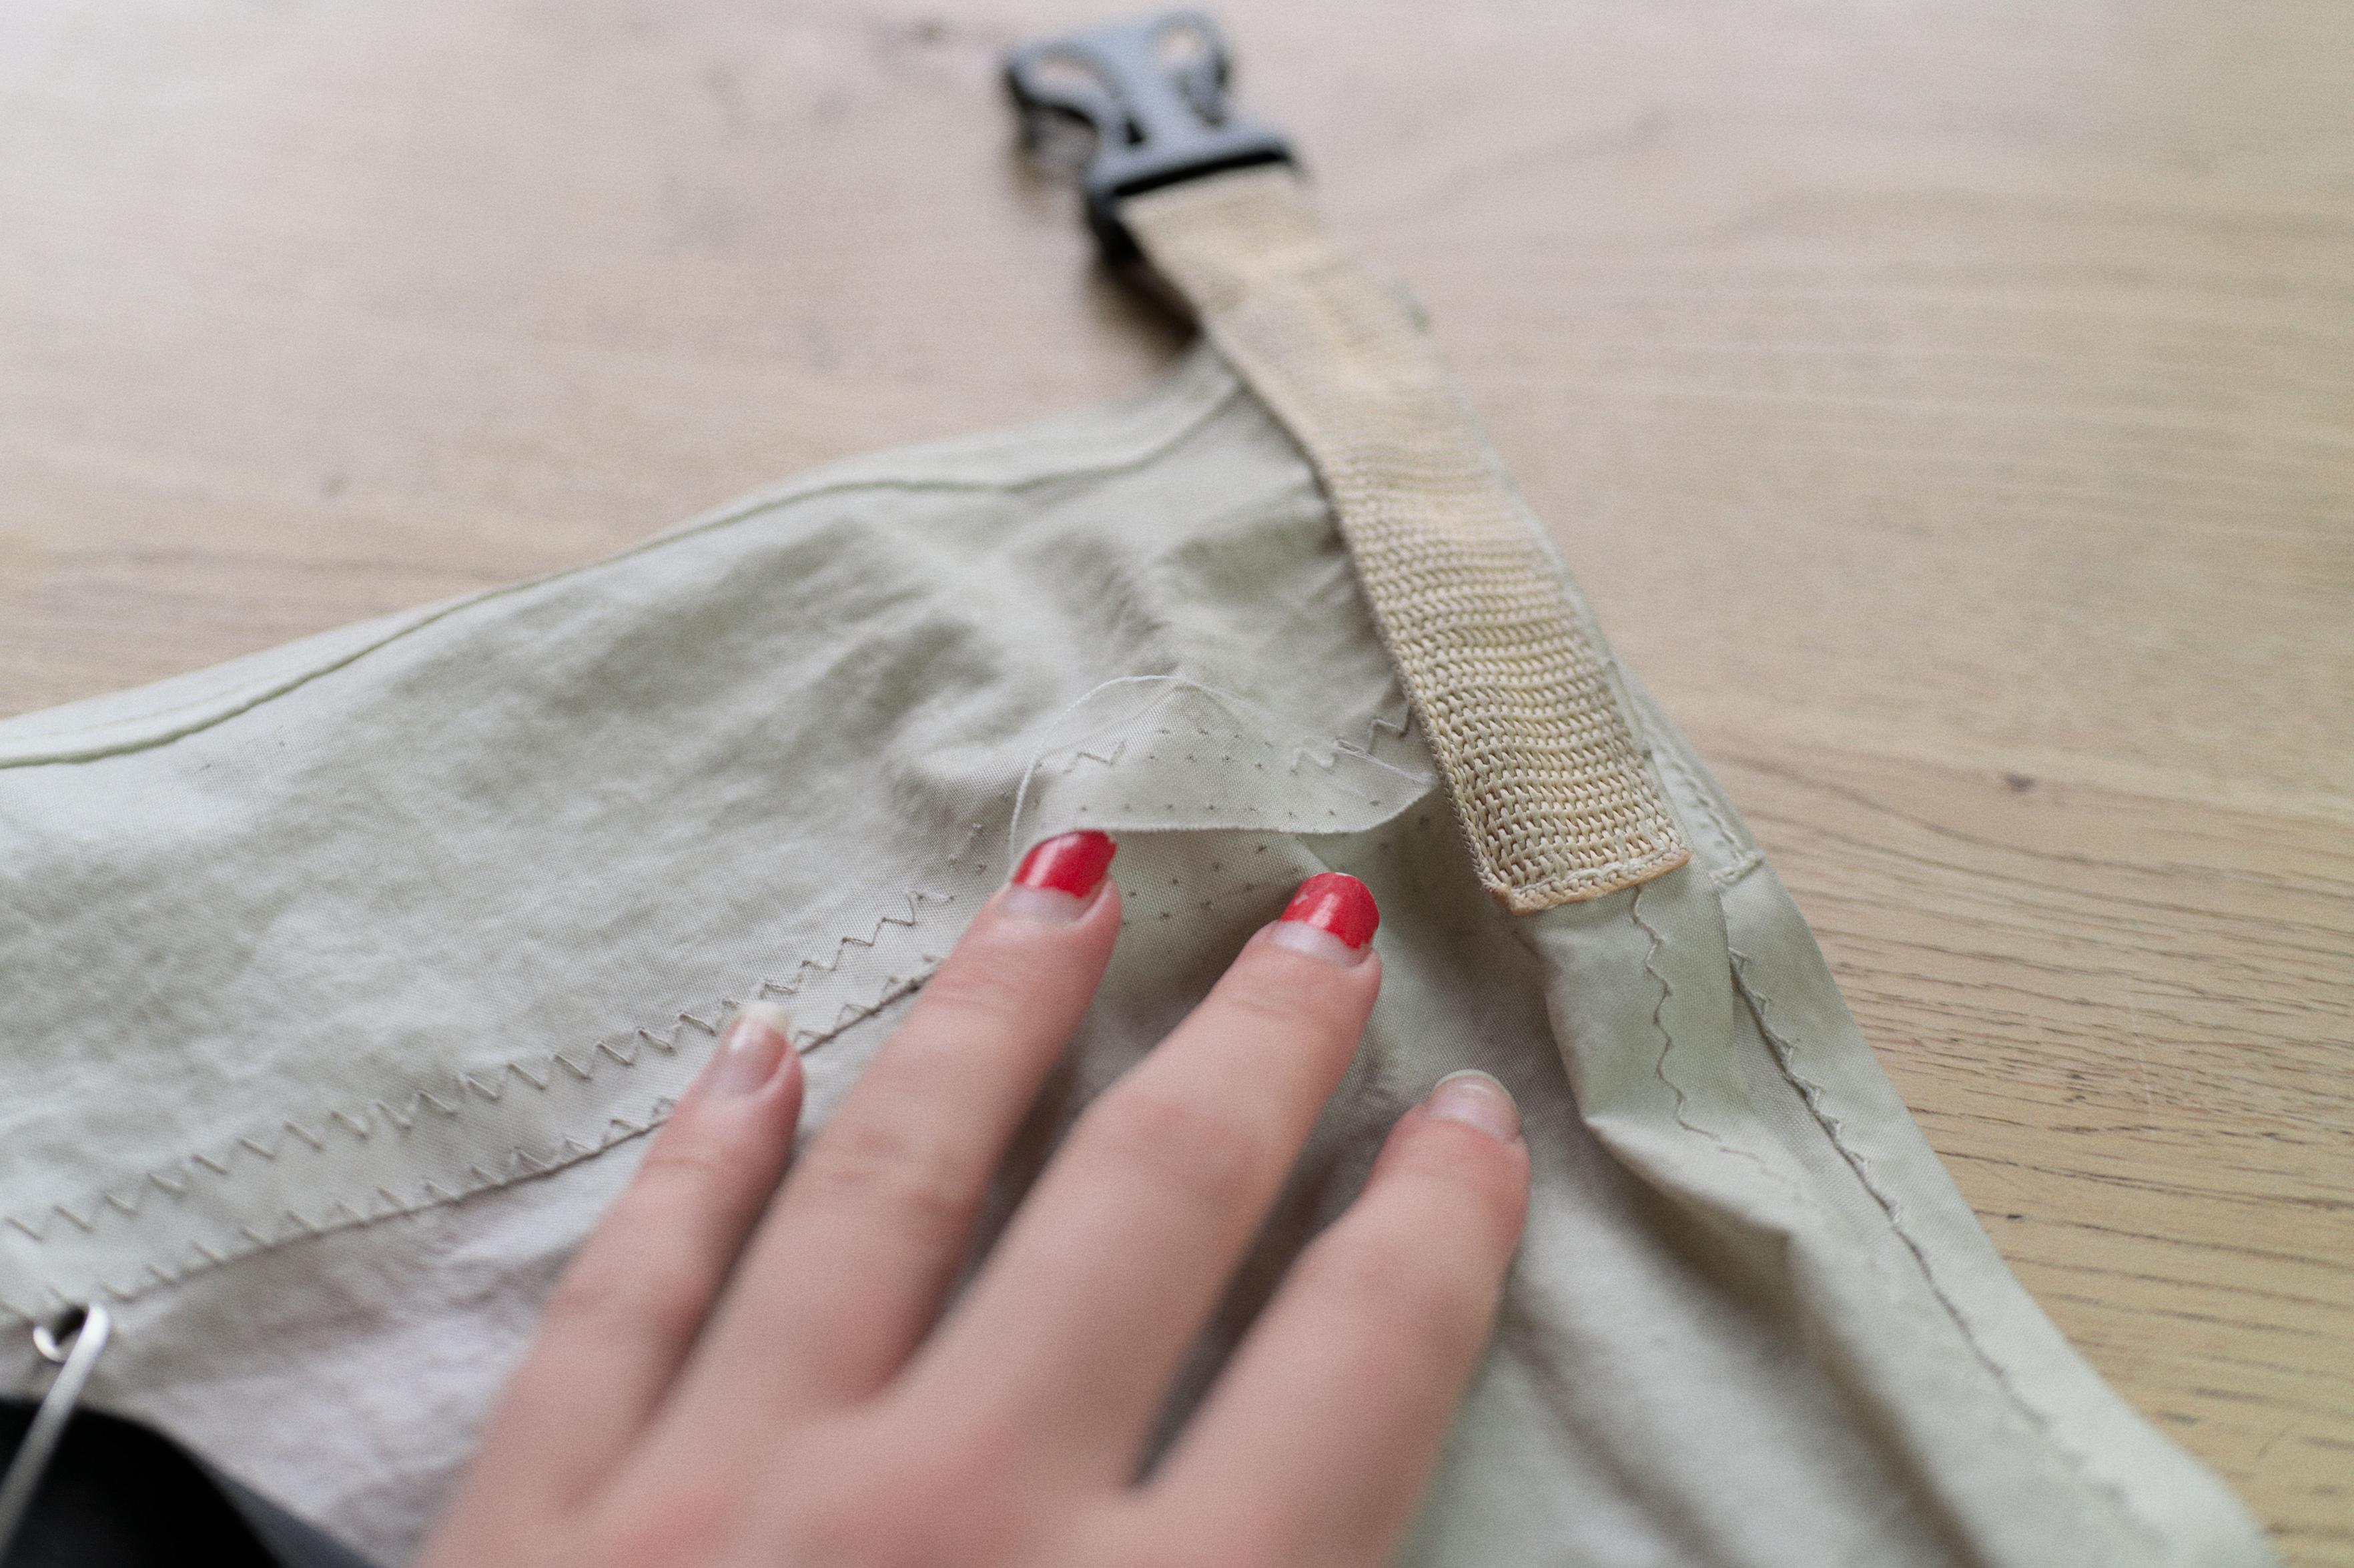
I love this bag so much. For a while, a section of the old stitching between
the sailcloth panels has been slowly letting go. This does not compromise the
bag yet, but this is the right moment to fix it.
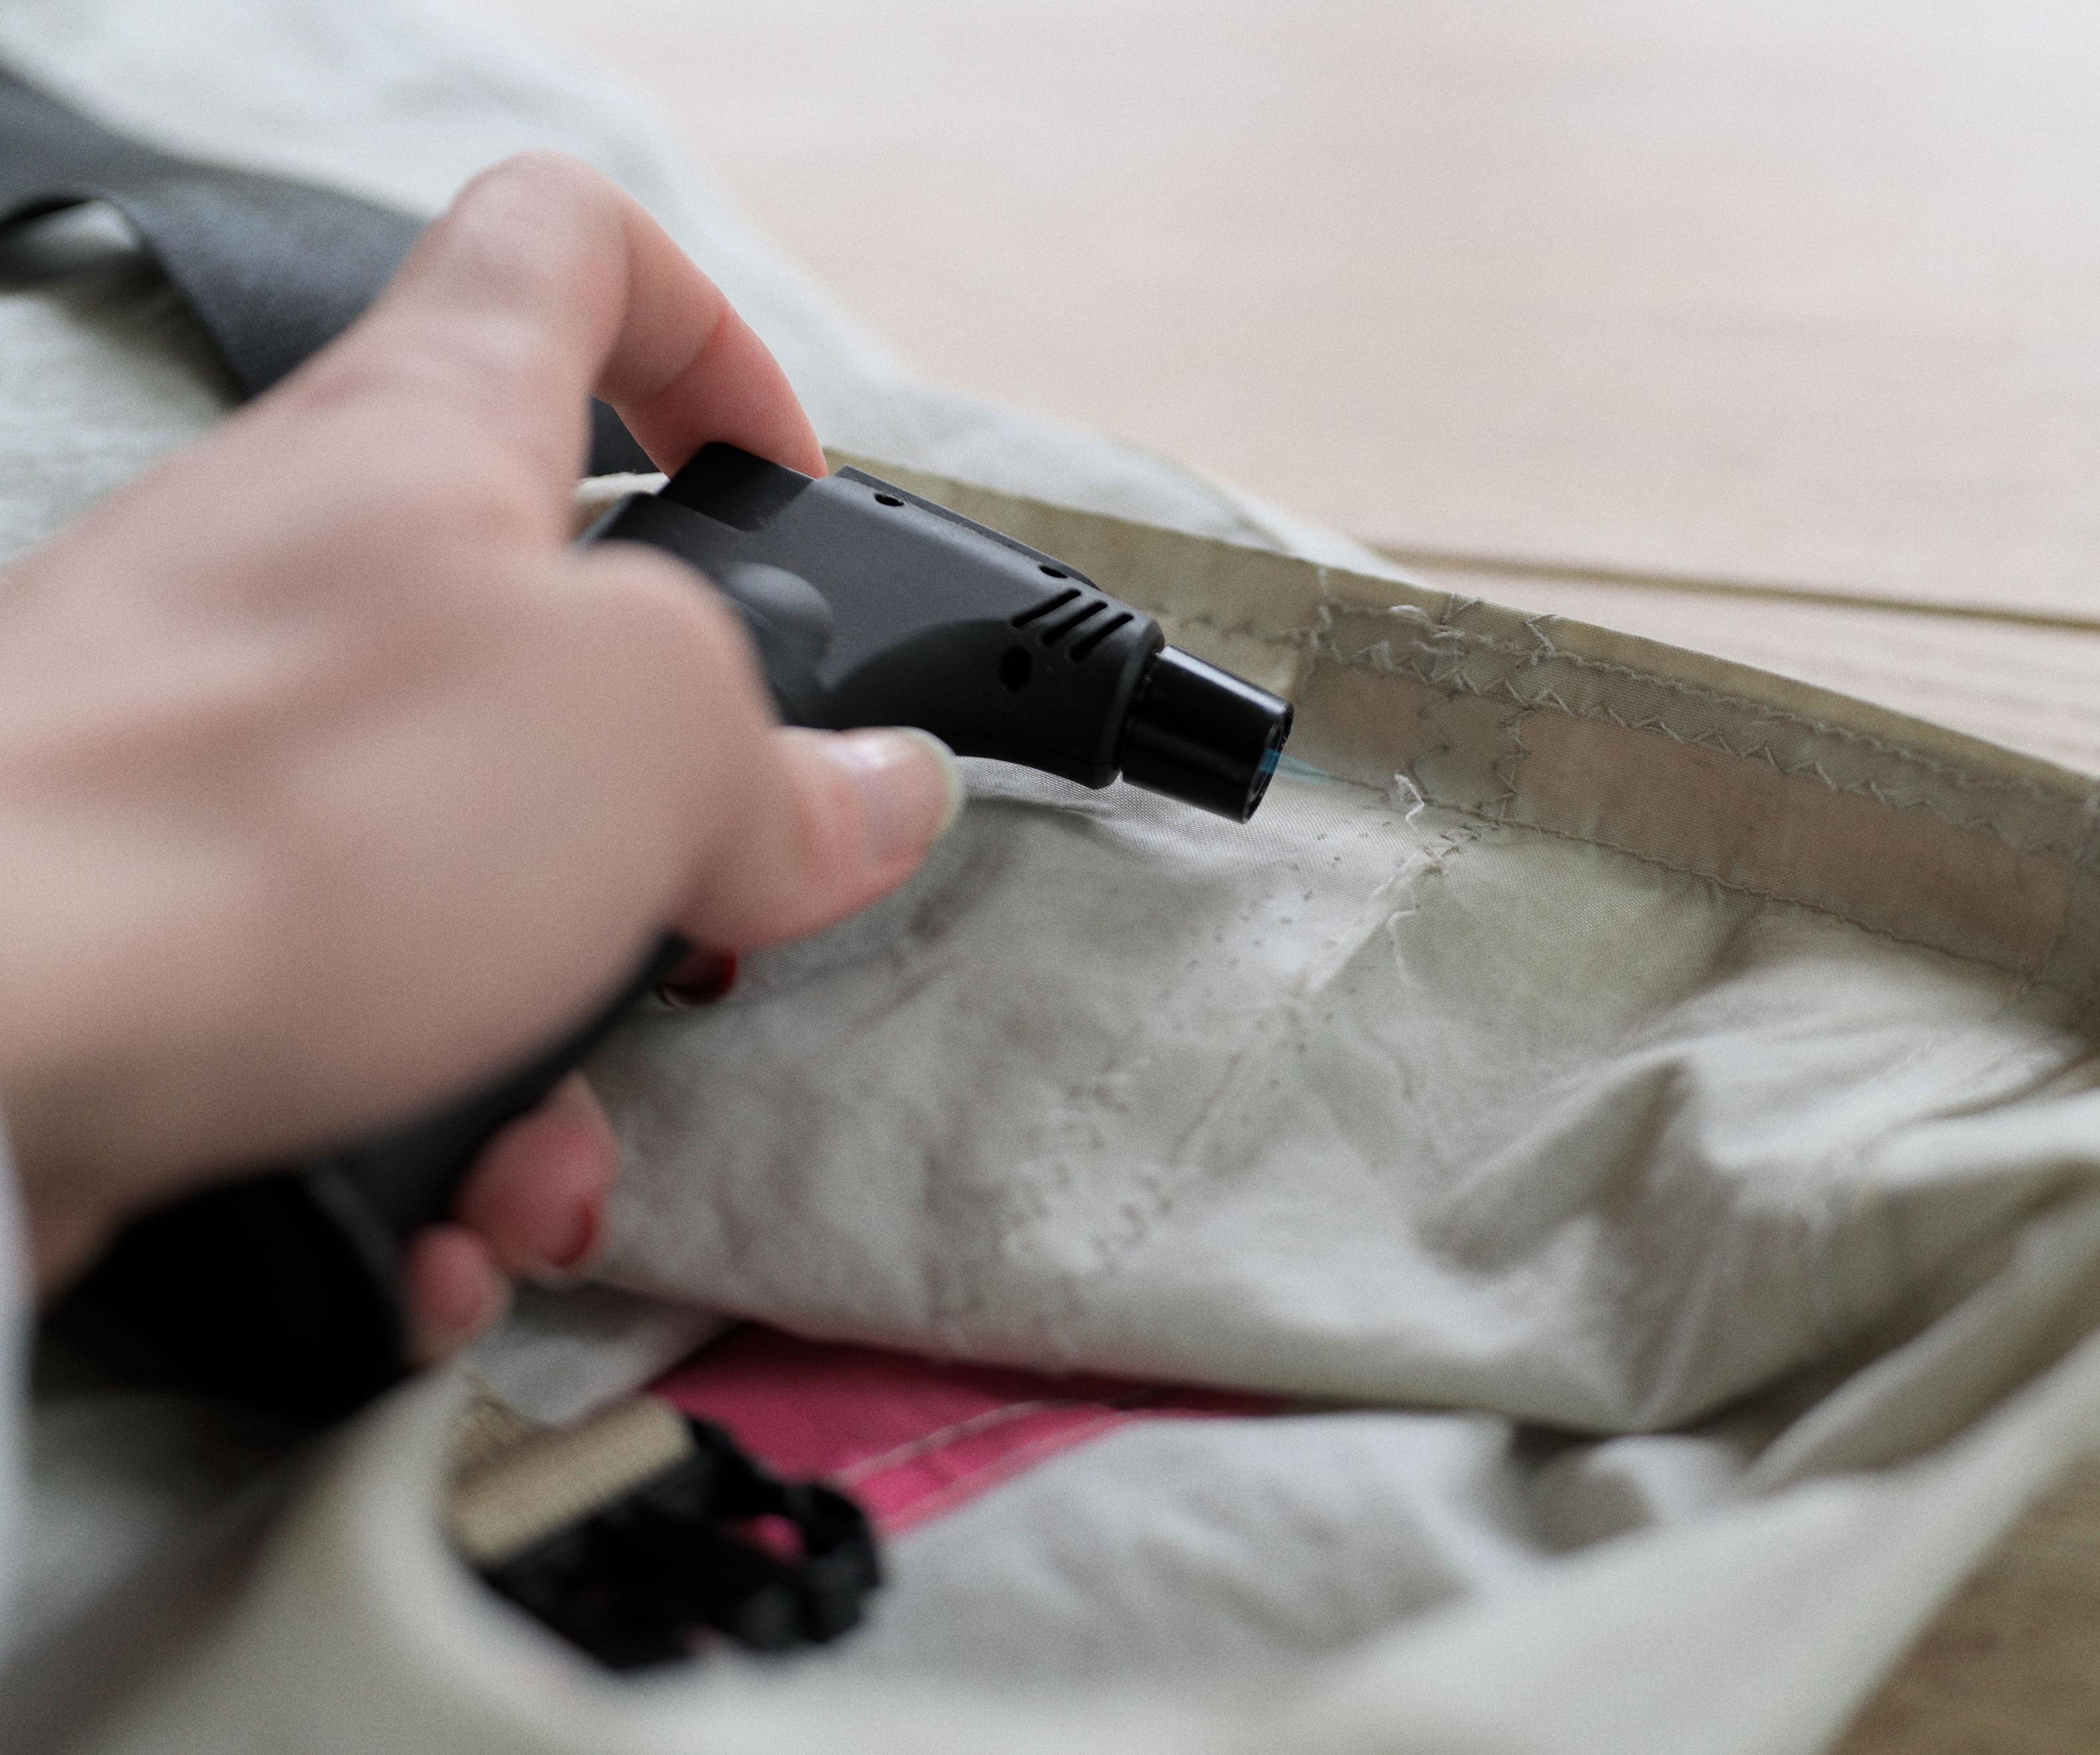
First, I'm burning off the ends of the broken threads to clean that up. I'm
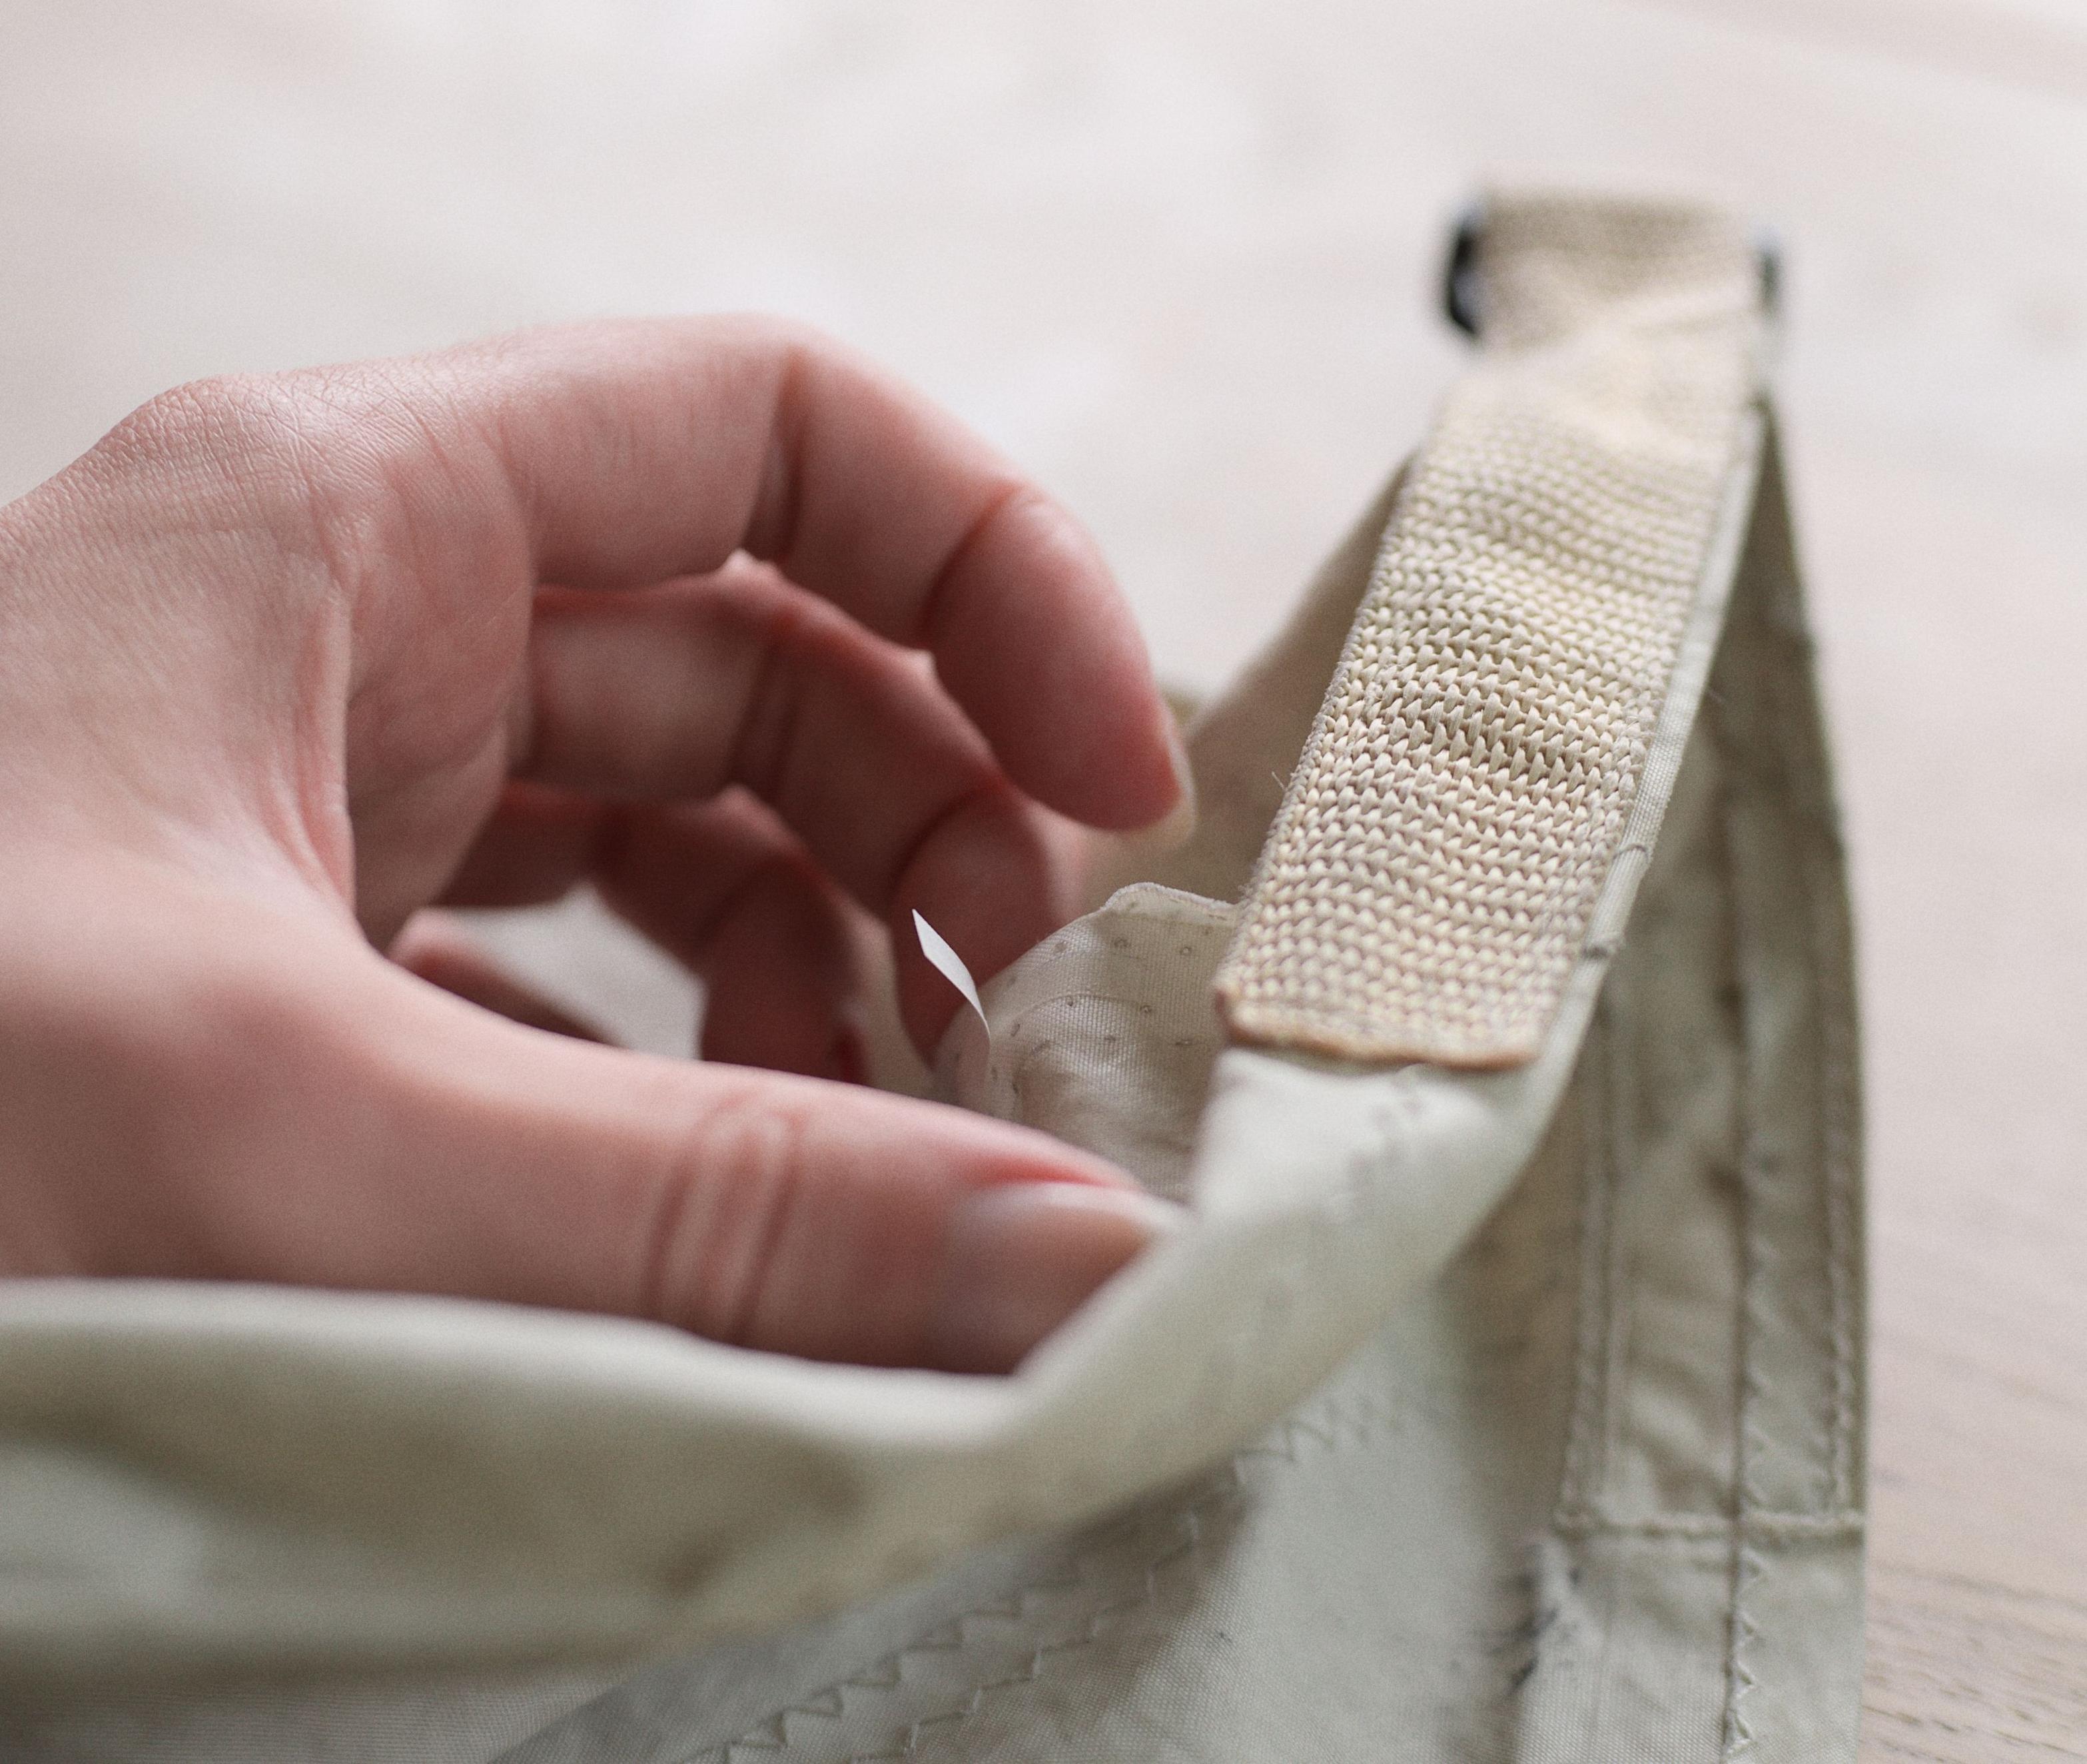
also sticking a small bit of double-sided sailmaking tape between the layers to
stabilize it for years to come.
The stitching between two panels in my bag is falling apart.
Burning off the ends of broken threads.
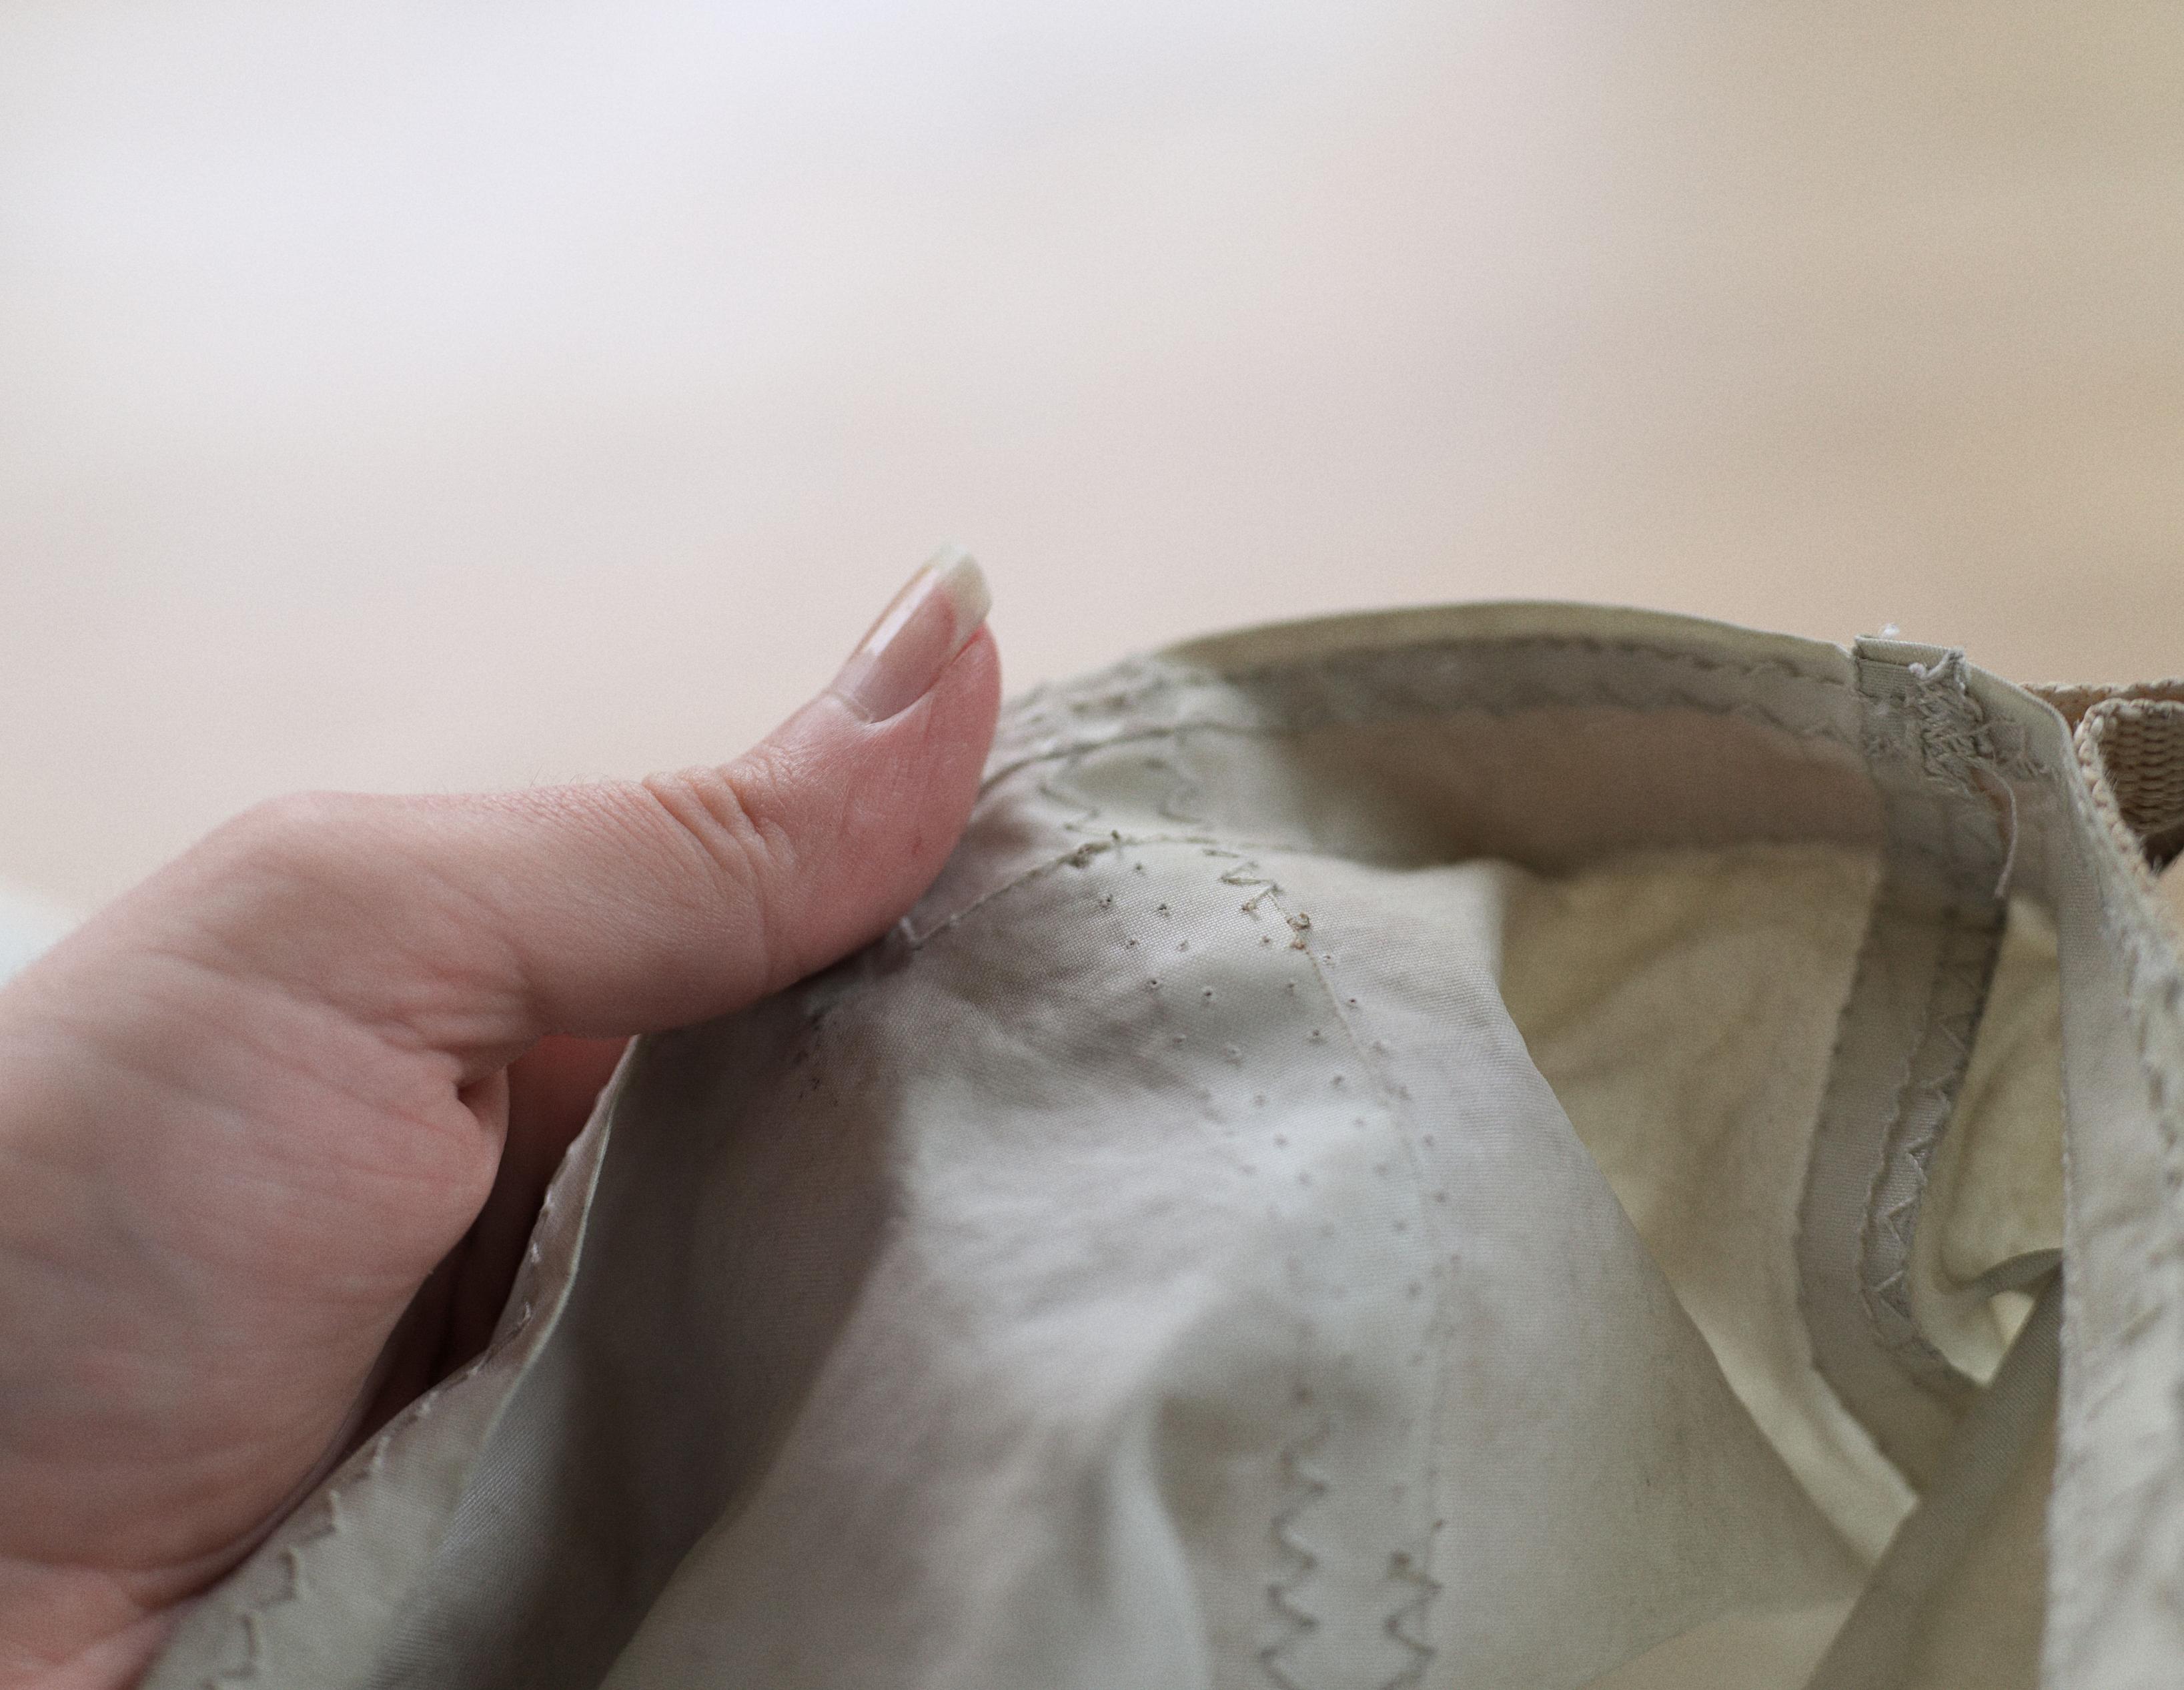
All nice and cleaned up for the repair.
I'm sticking a small piece of double-sided tape for sailmaking between
the two layers. This will stabilize the joint a bit more. Because this
is a roll-top bag, this section sees a lot of wear.
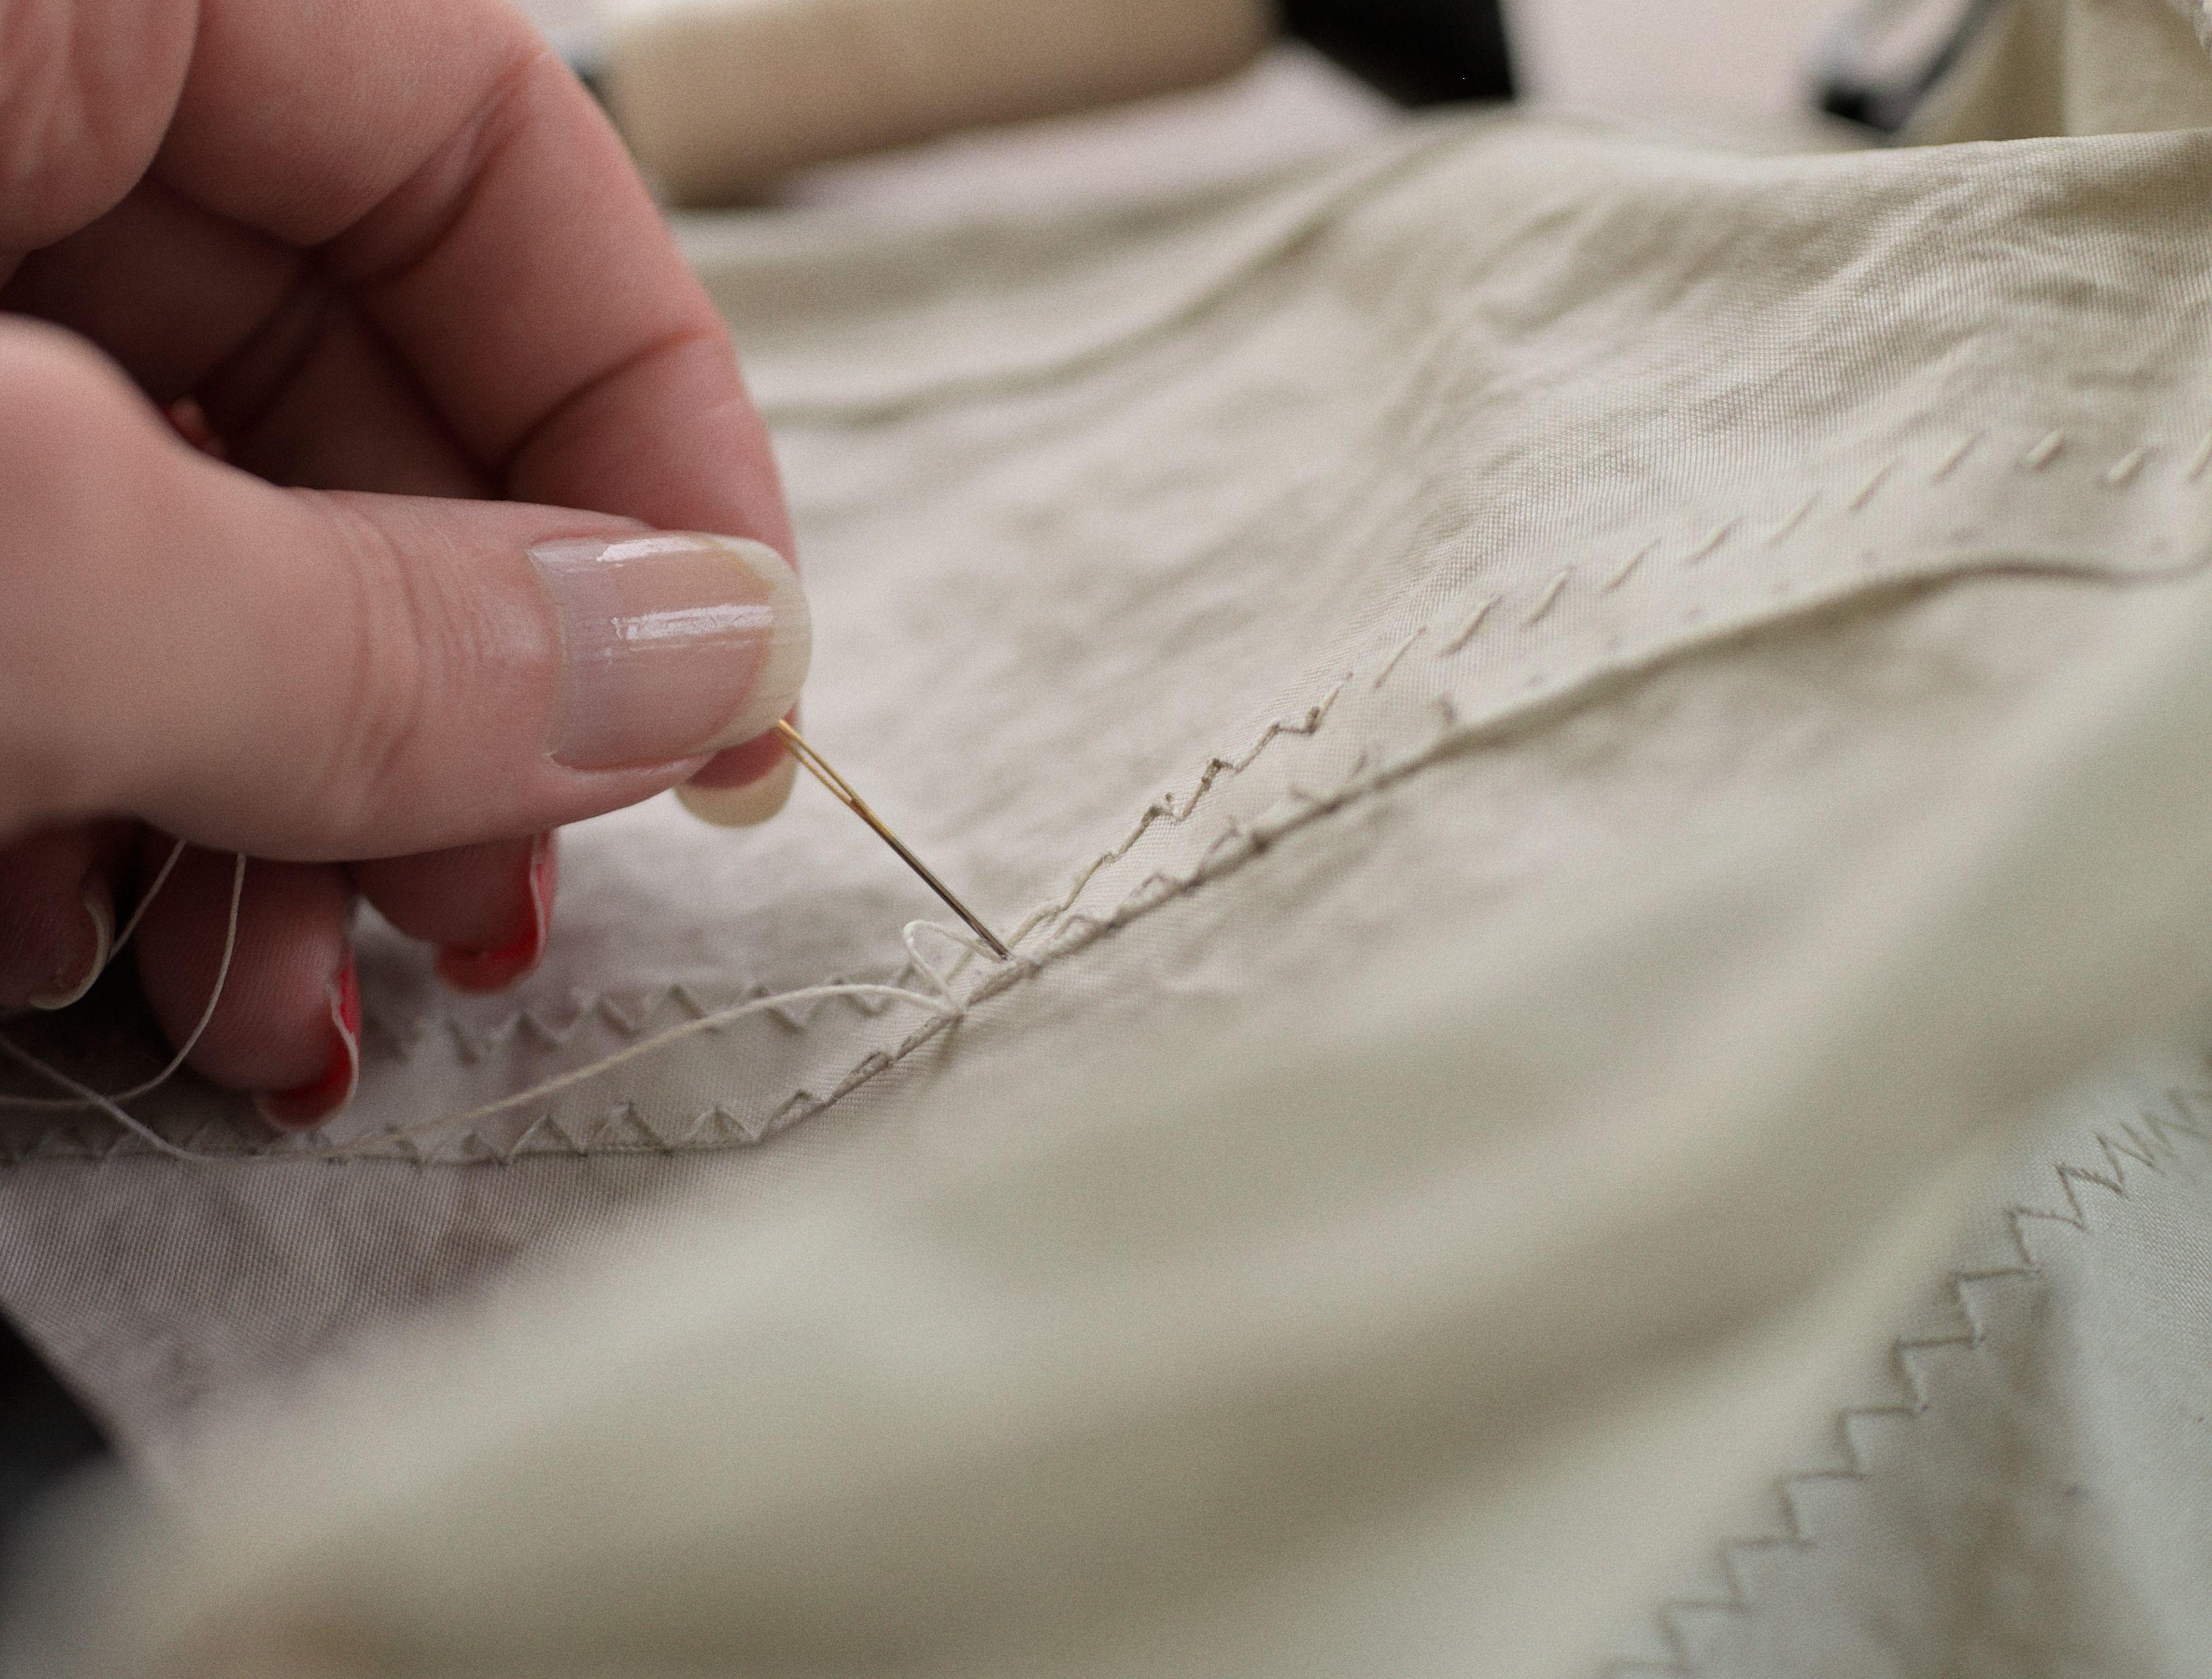
Now, it is time to start stitching. I'm using a strong, natural white thread
that I think I used to sew the bag together when I originally made it.
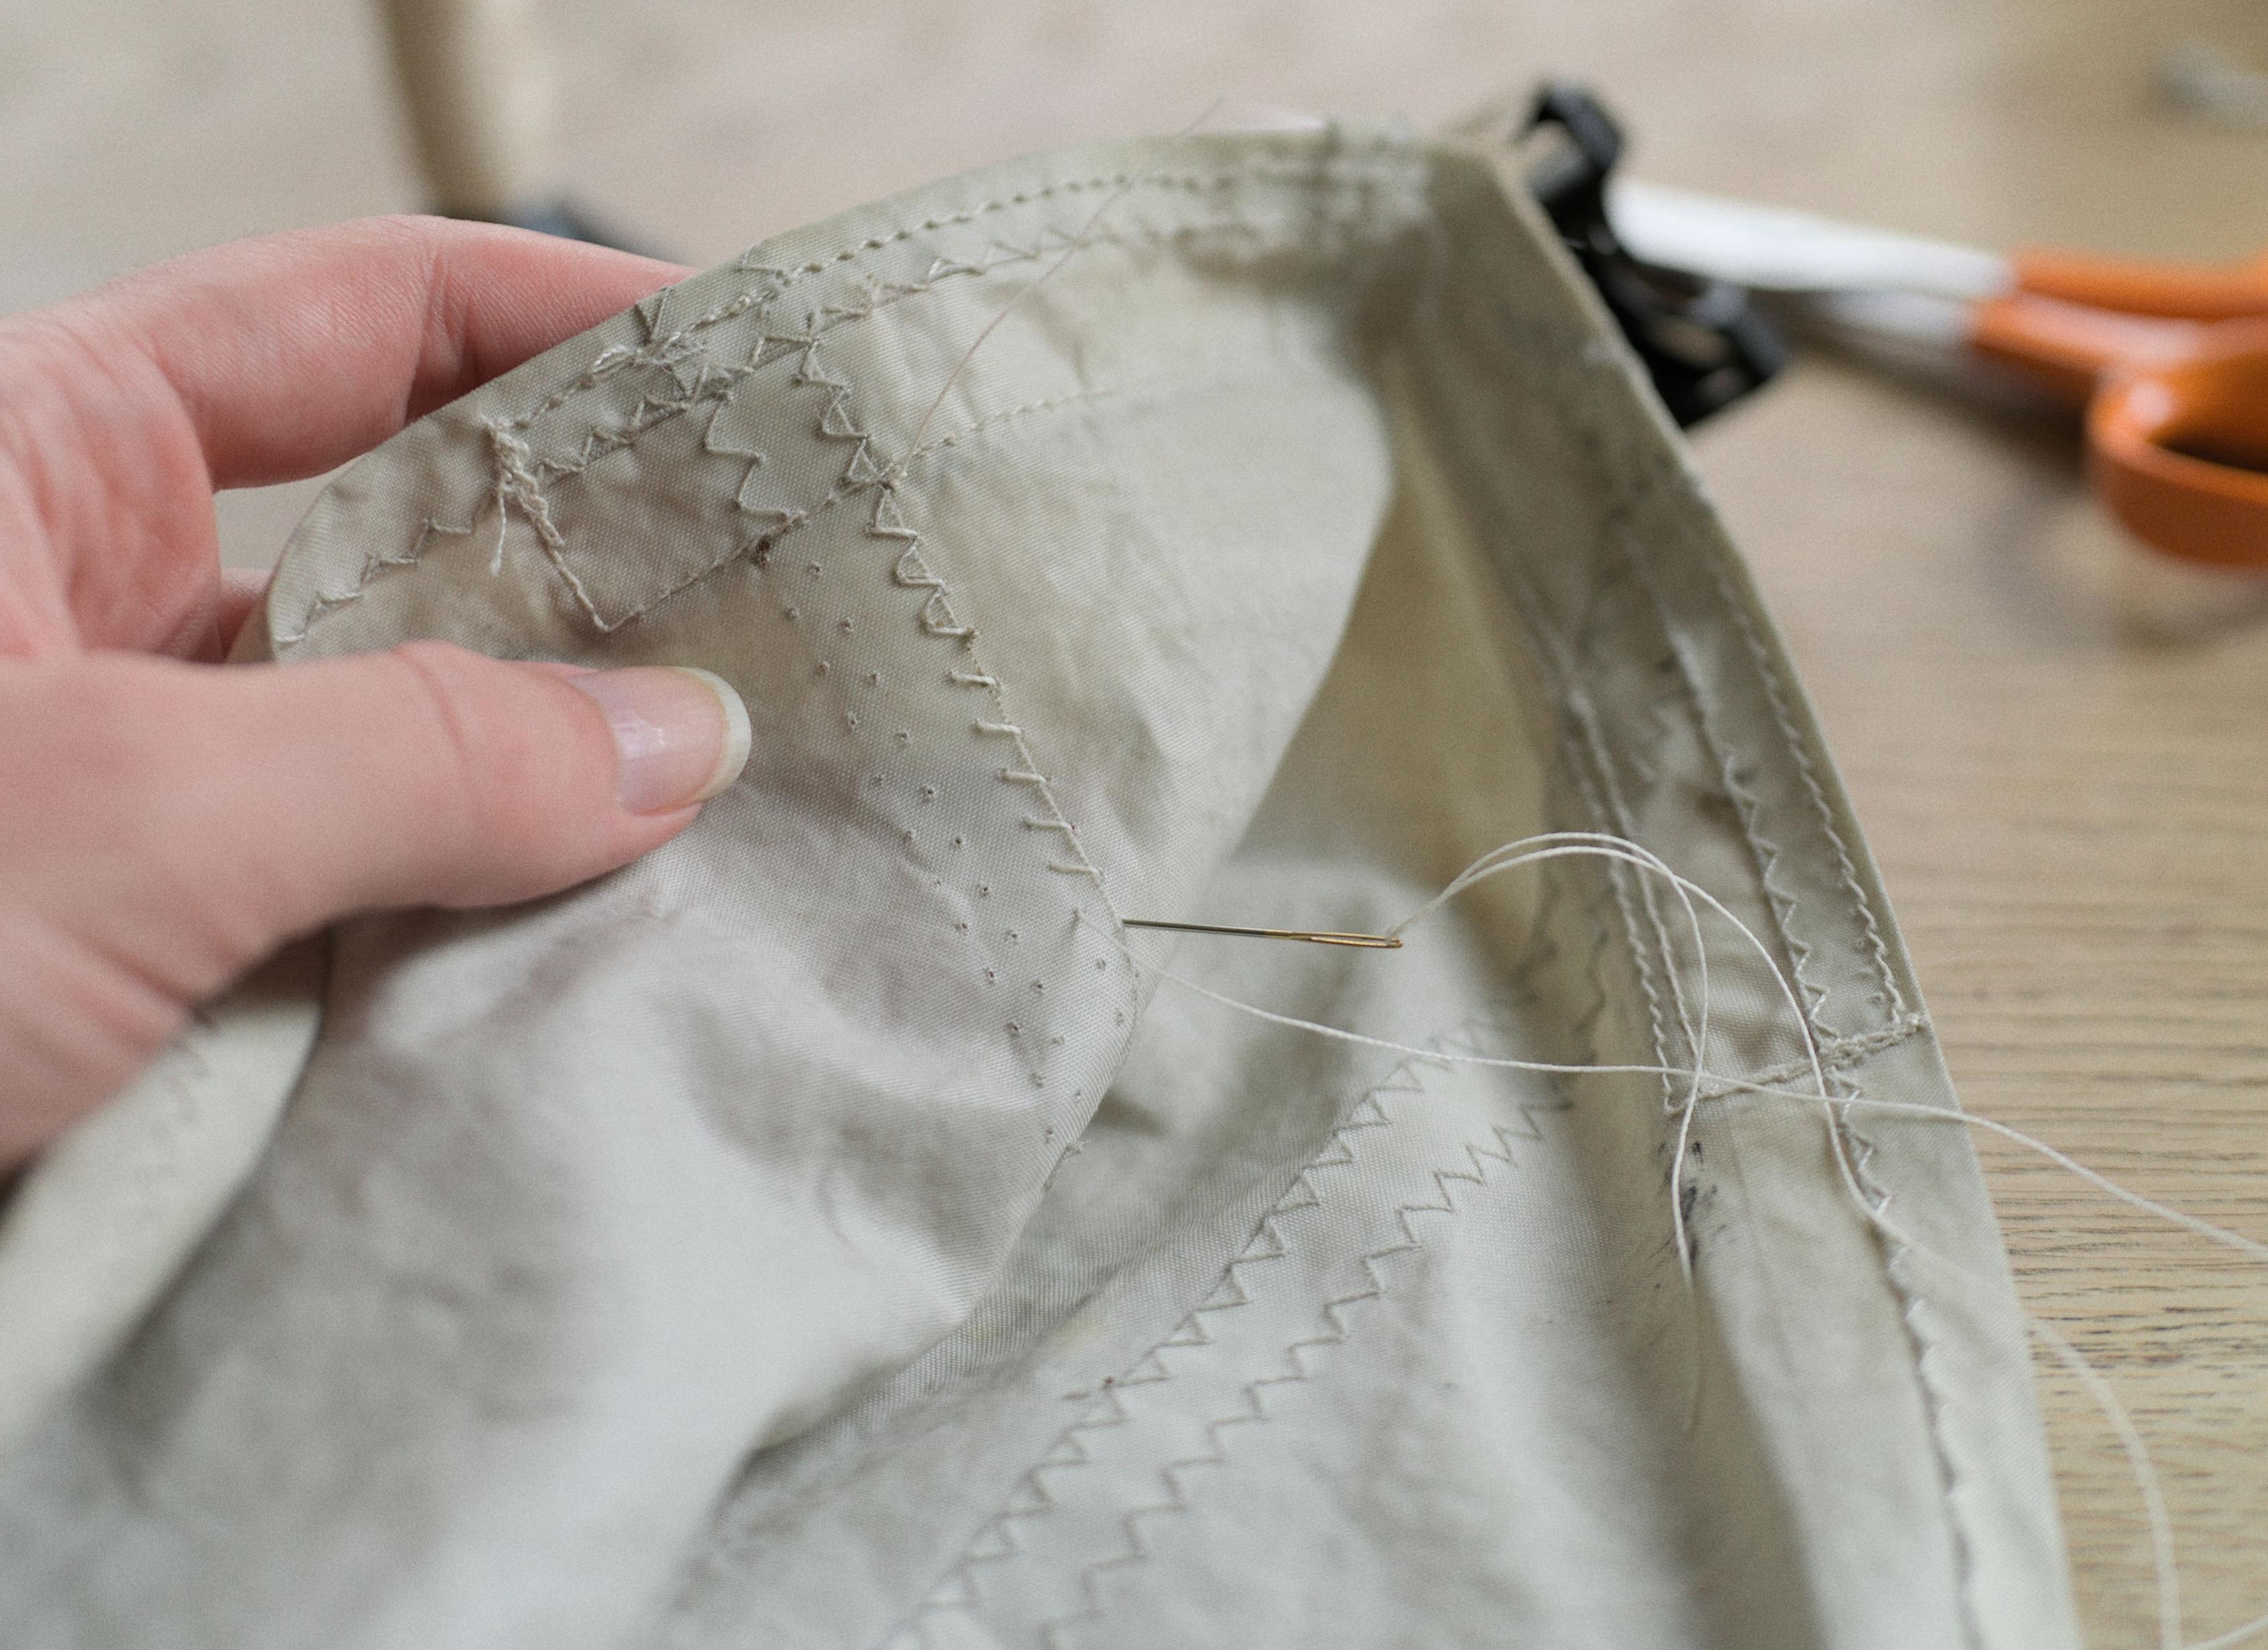
Simply going over the original holes one-way to form diagonal stitches will
give excellent support. I really love how this looks.
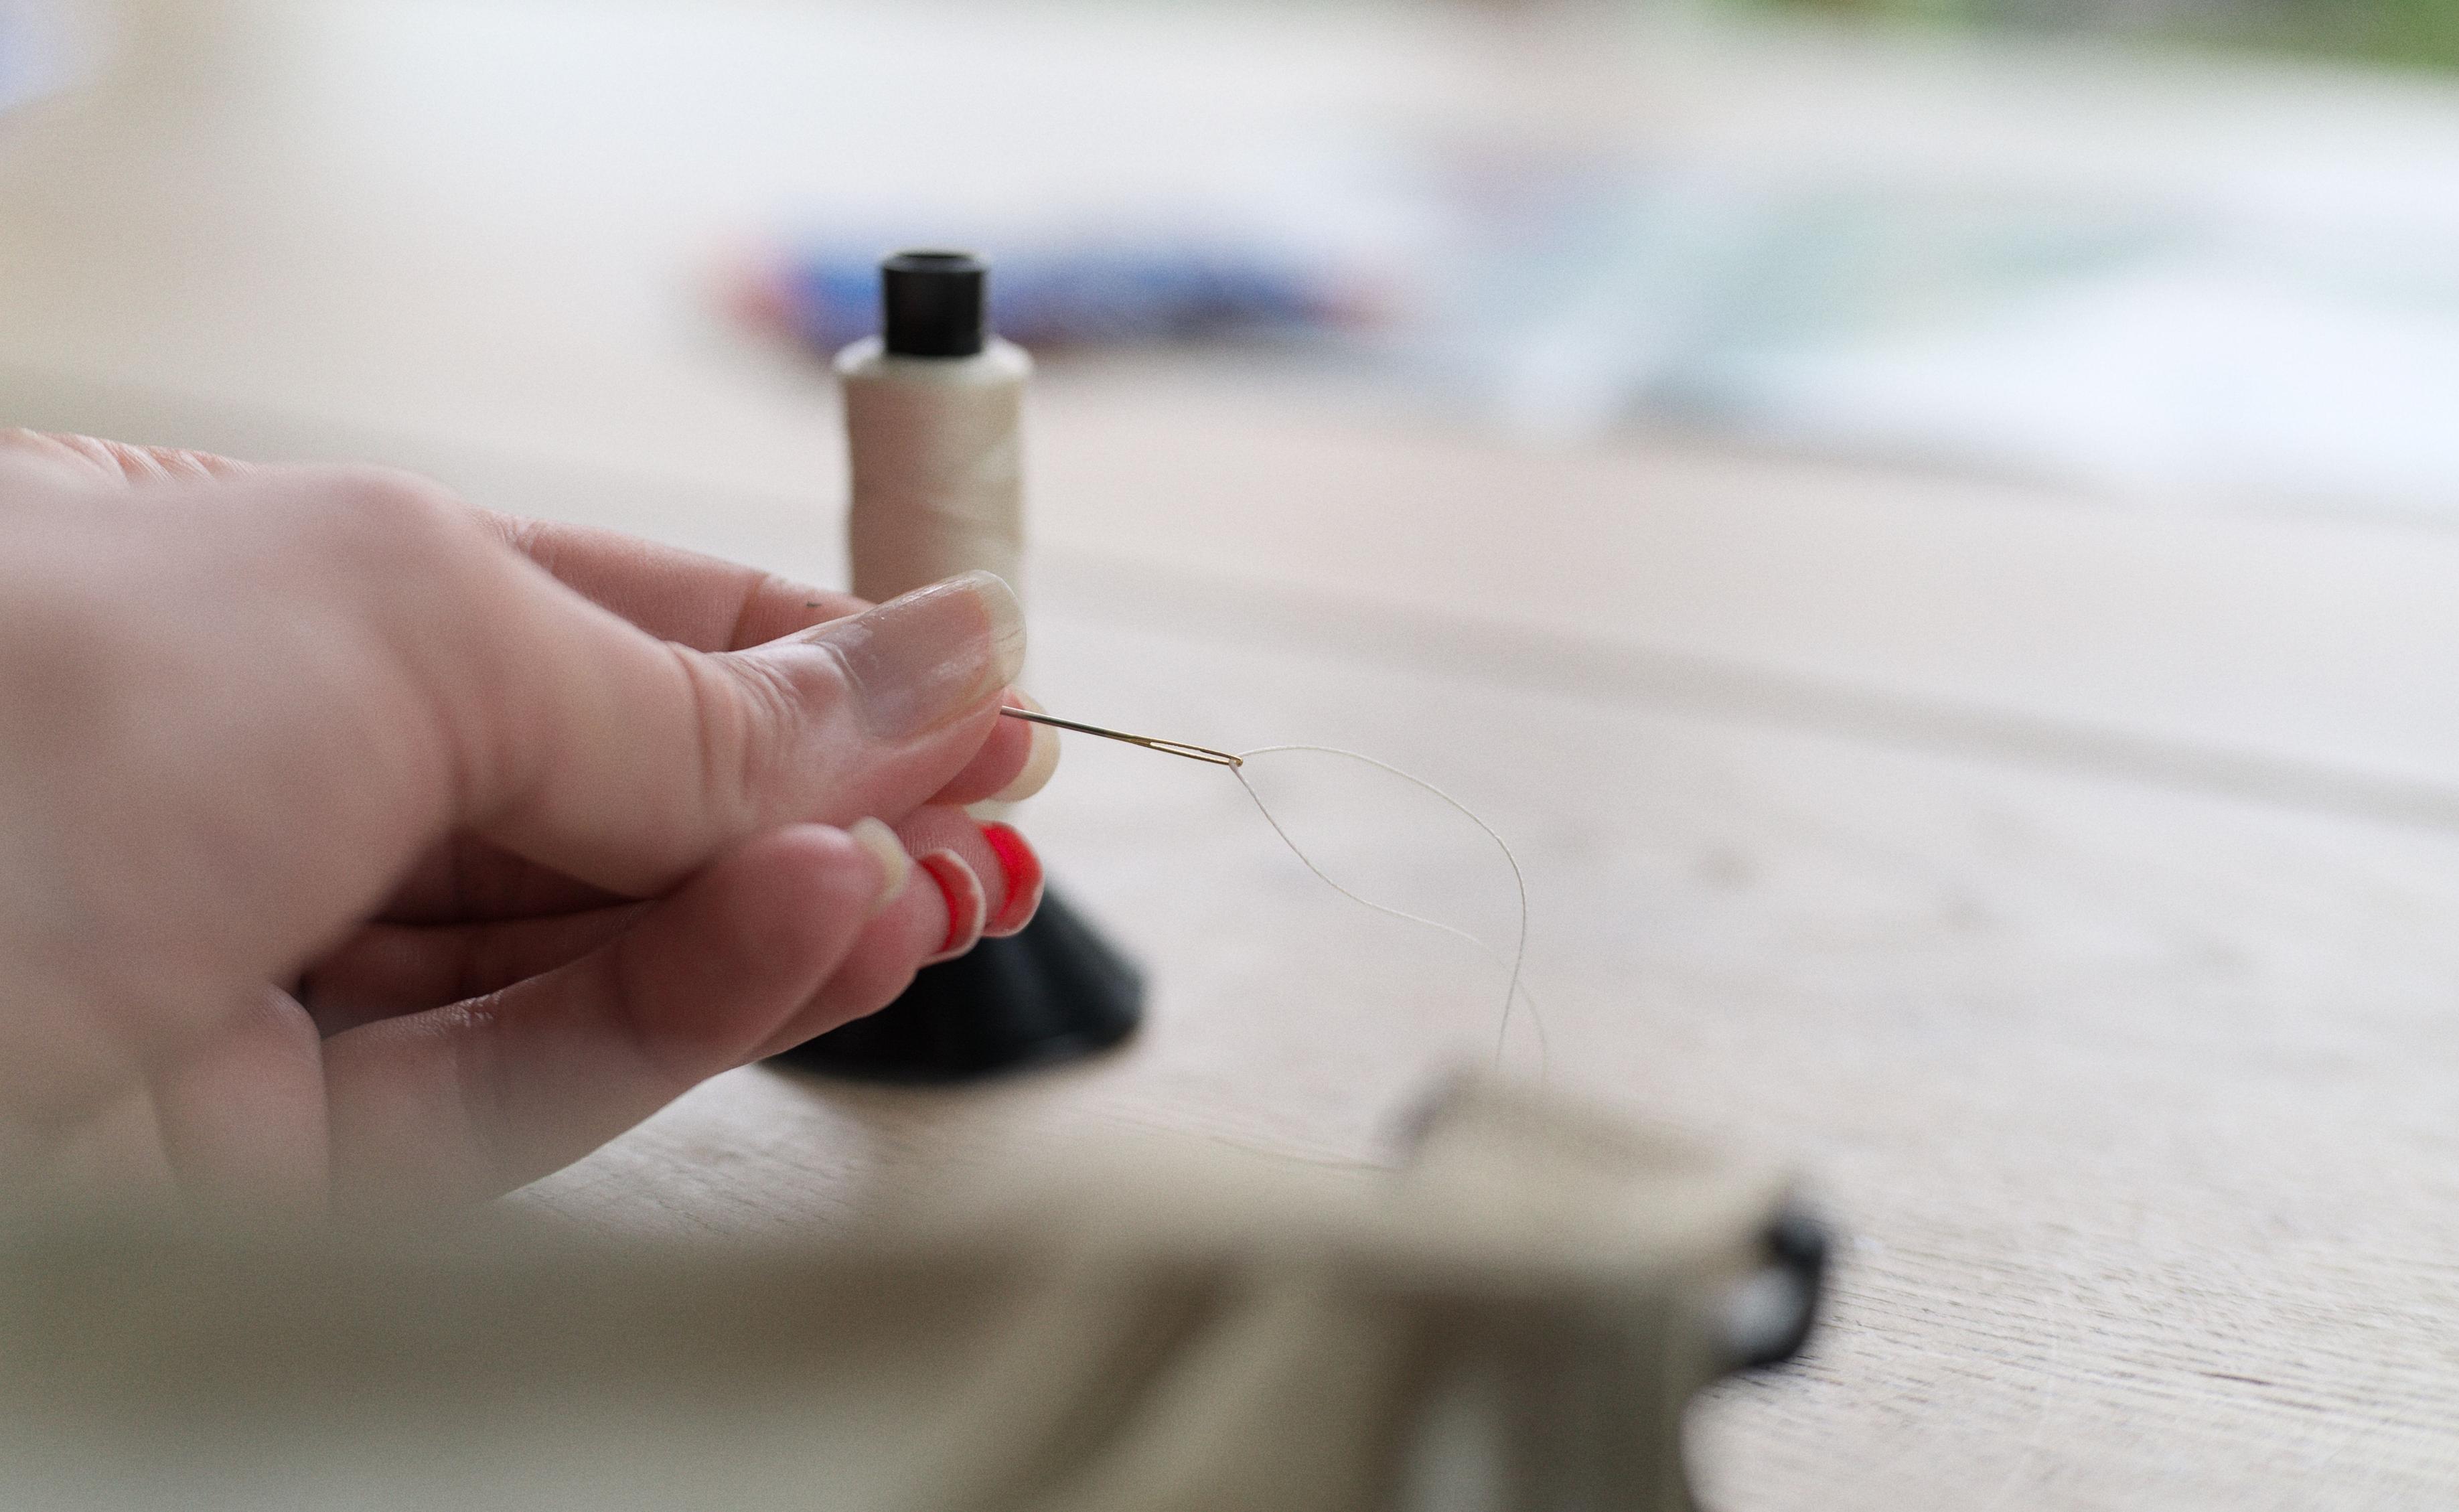
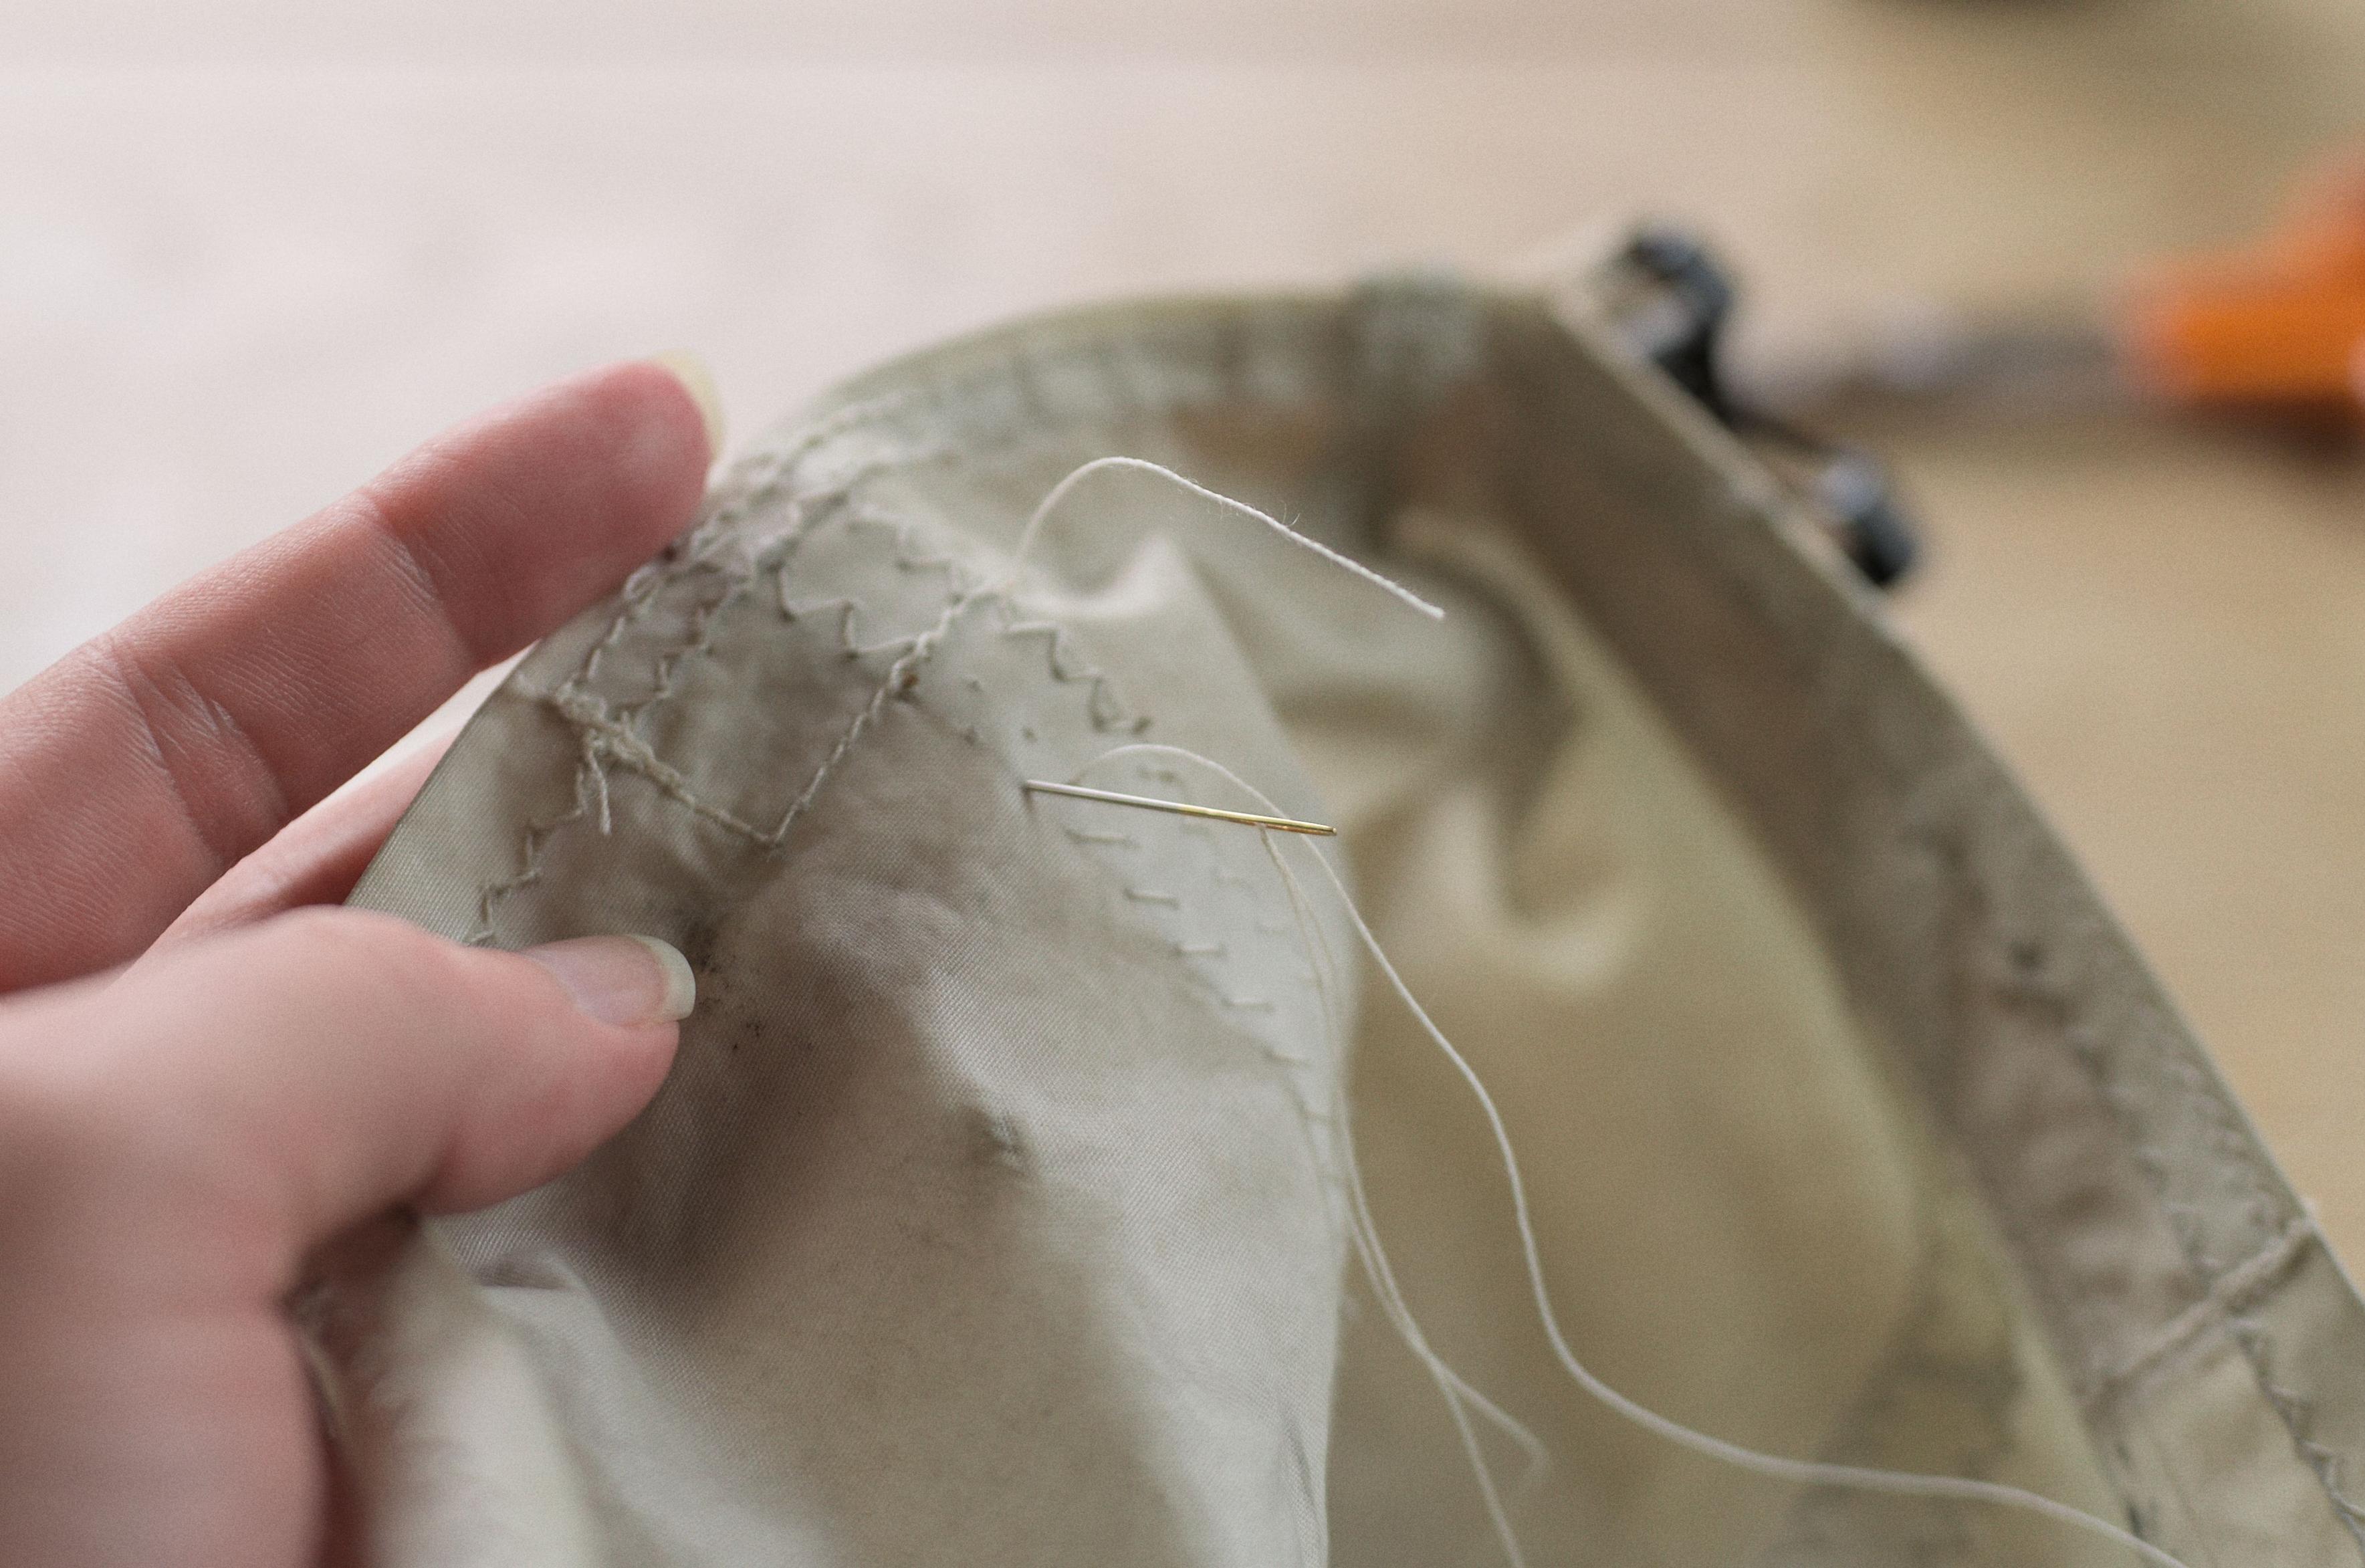
I'm will use a sturdy but thin needle with a strong, natural white
thread. The needle does not need to be very strong, actually, because
we will use the original holes.
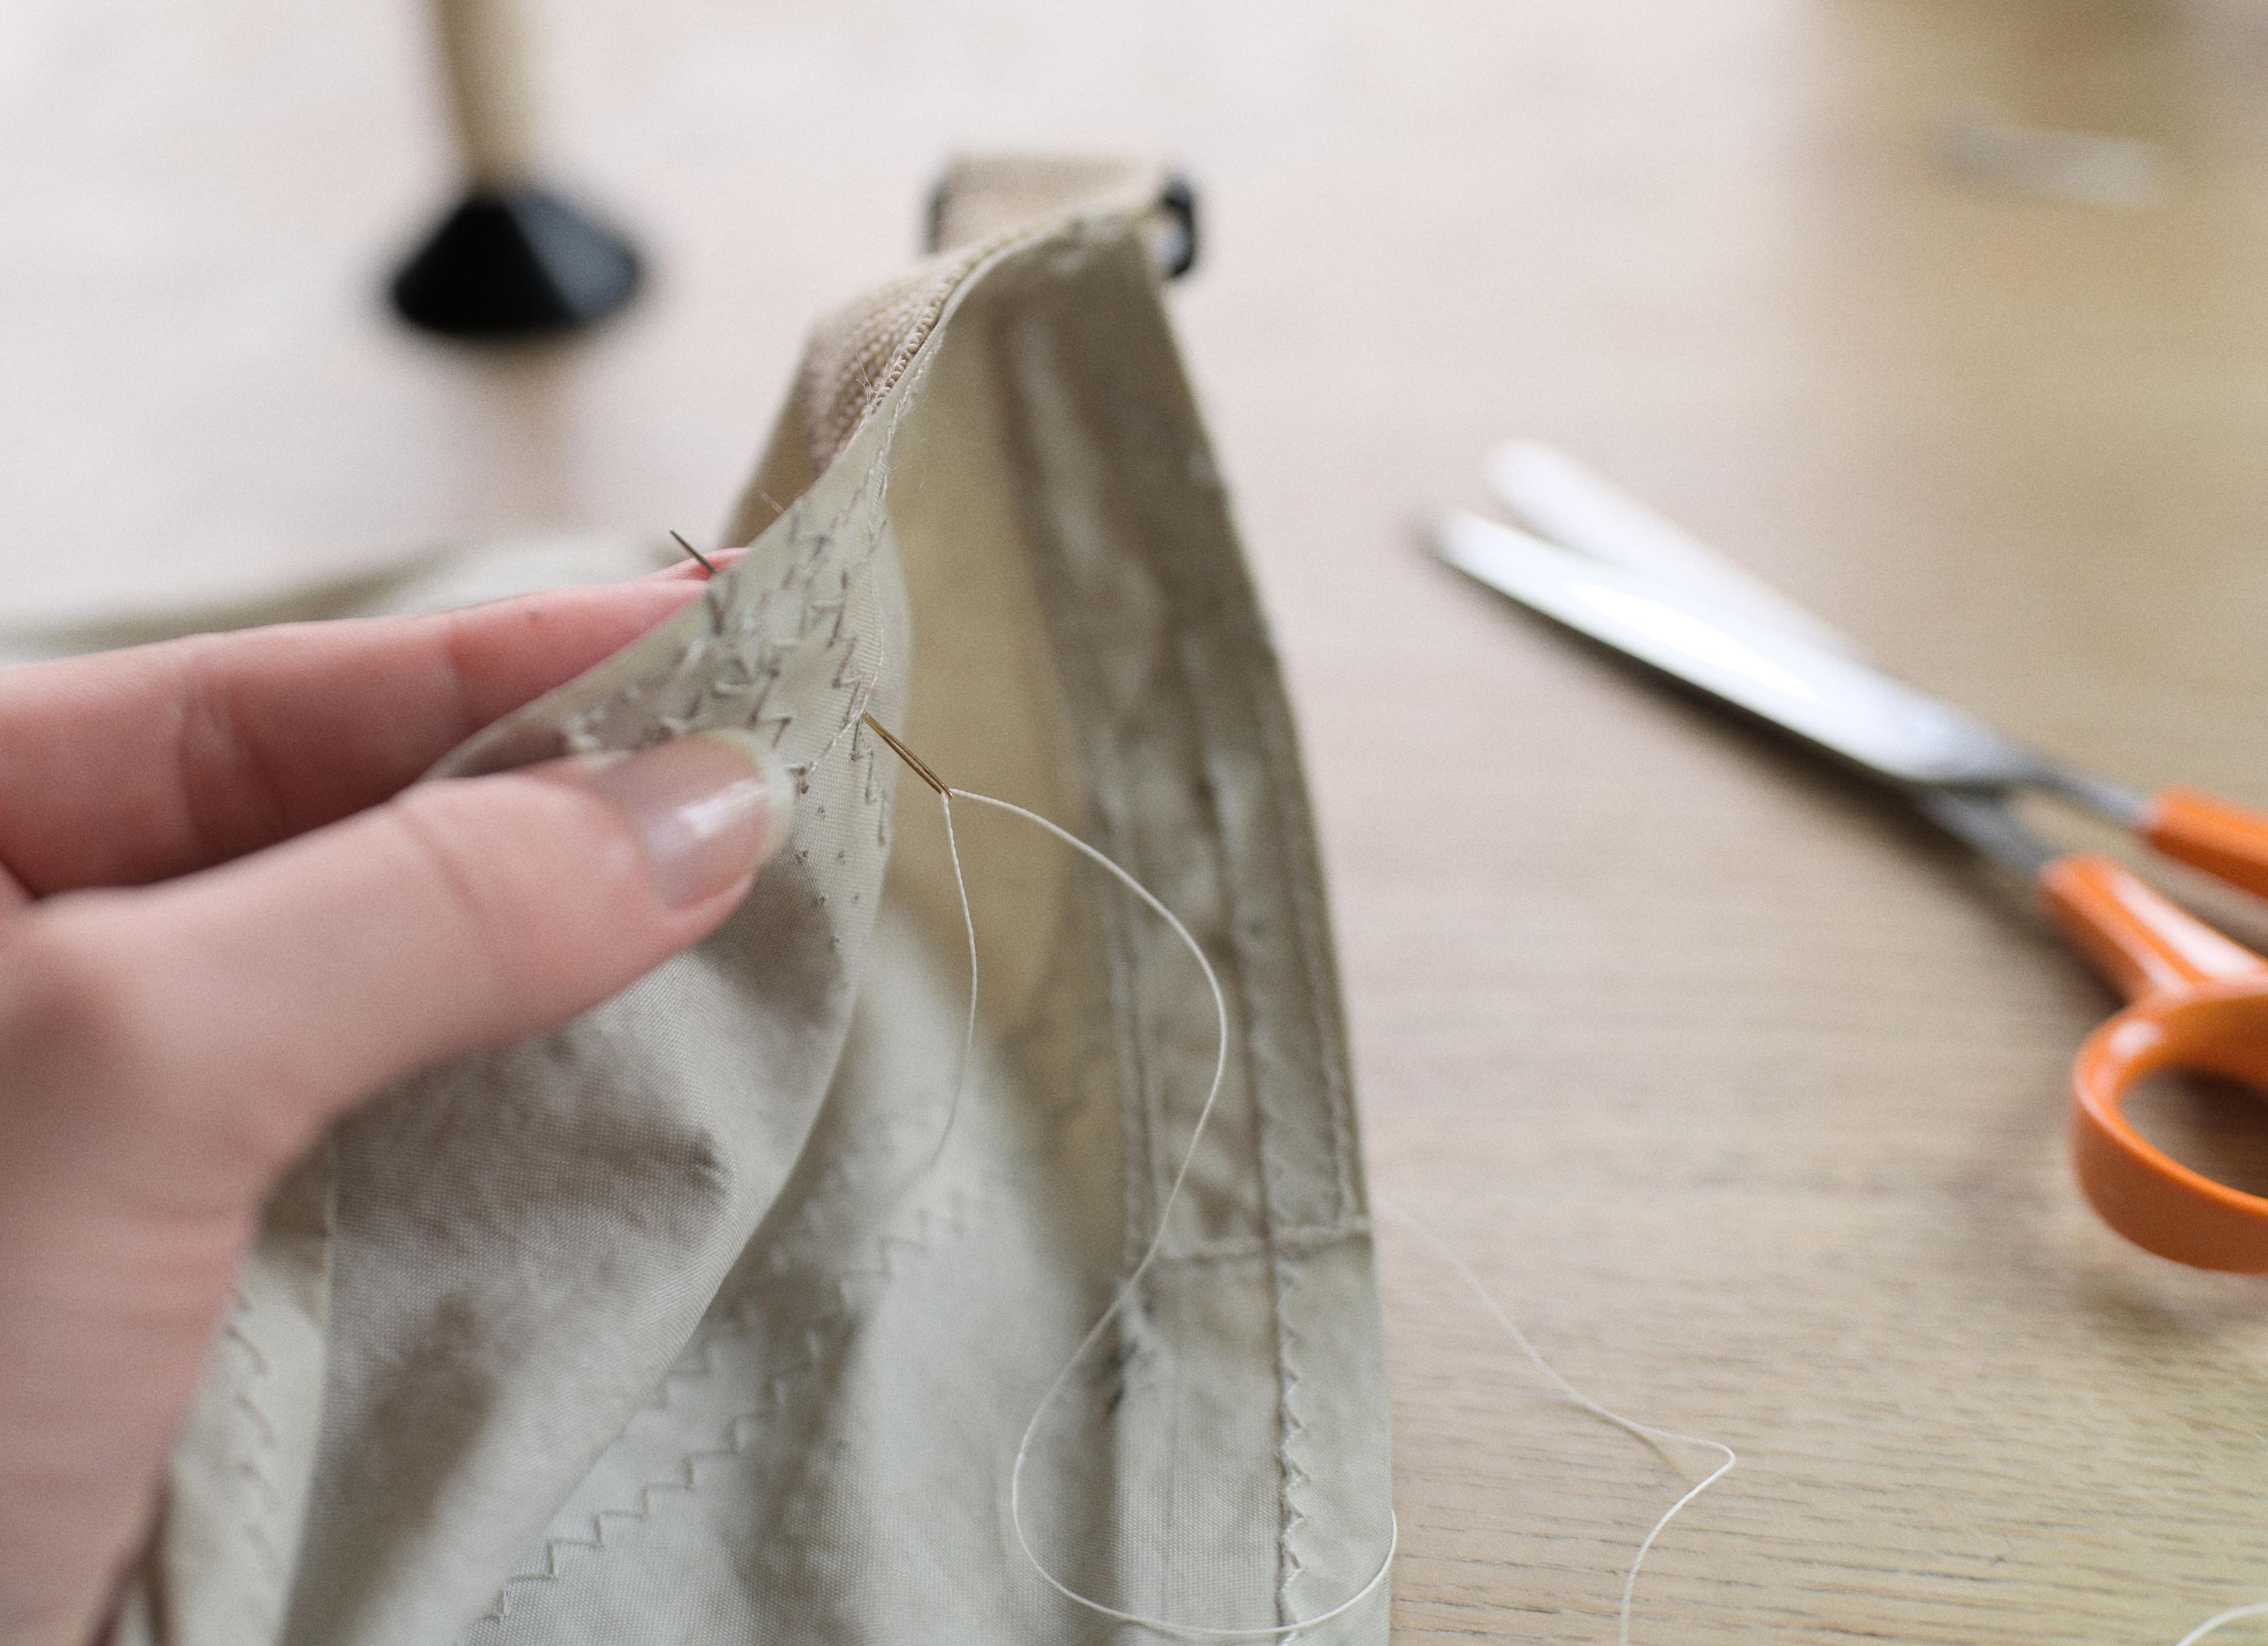
I'm starting at the top where the original thread is still well-seated.
Working my way down, following the zig-zag, leading to a trail of
diagonal stitches on each side.
The new stitching looks beautiful.
Very pleased with the results.
Make your own things. Repair your own things.
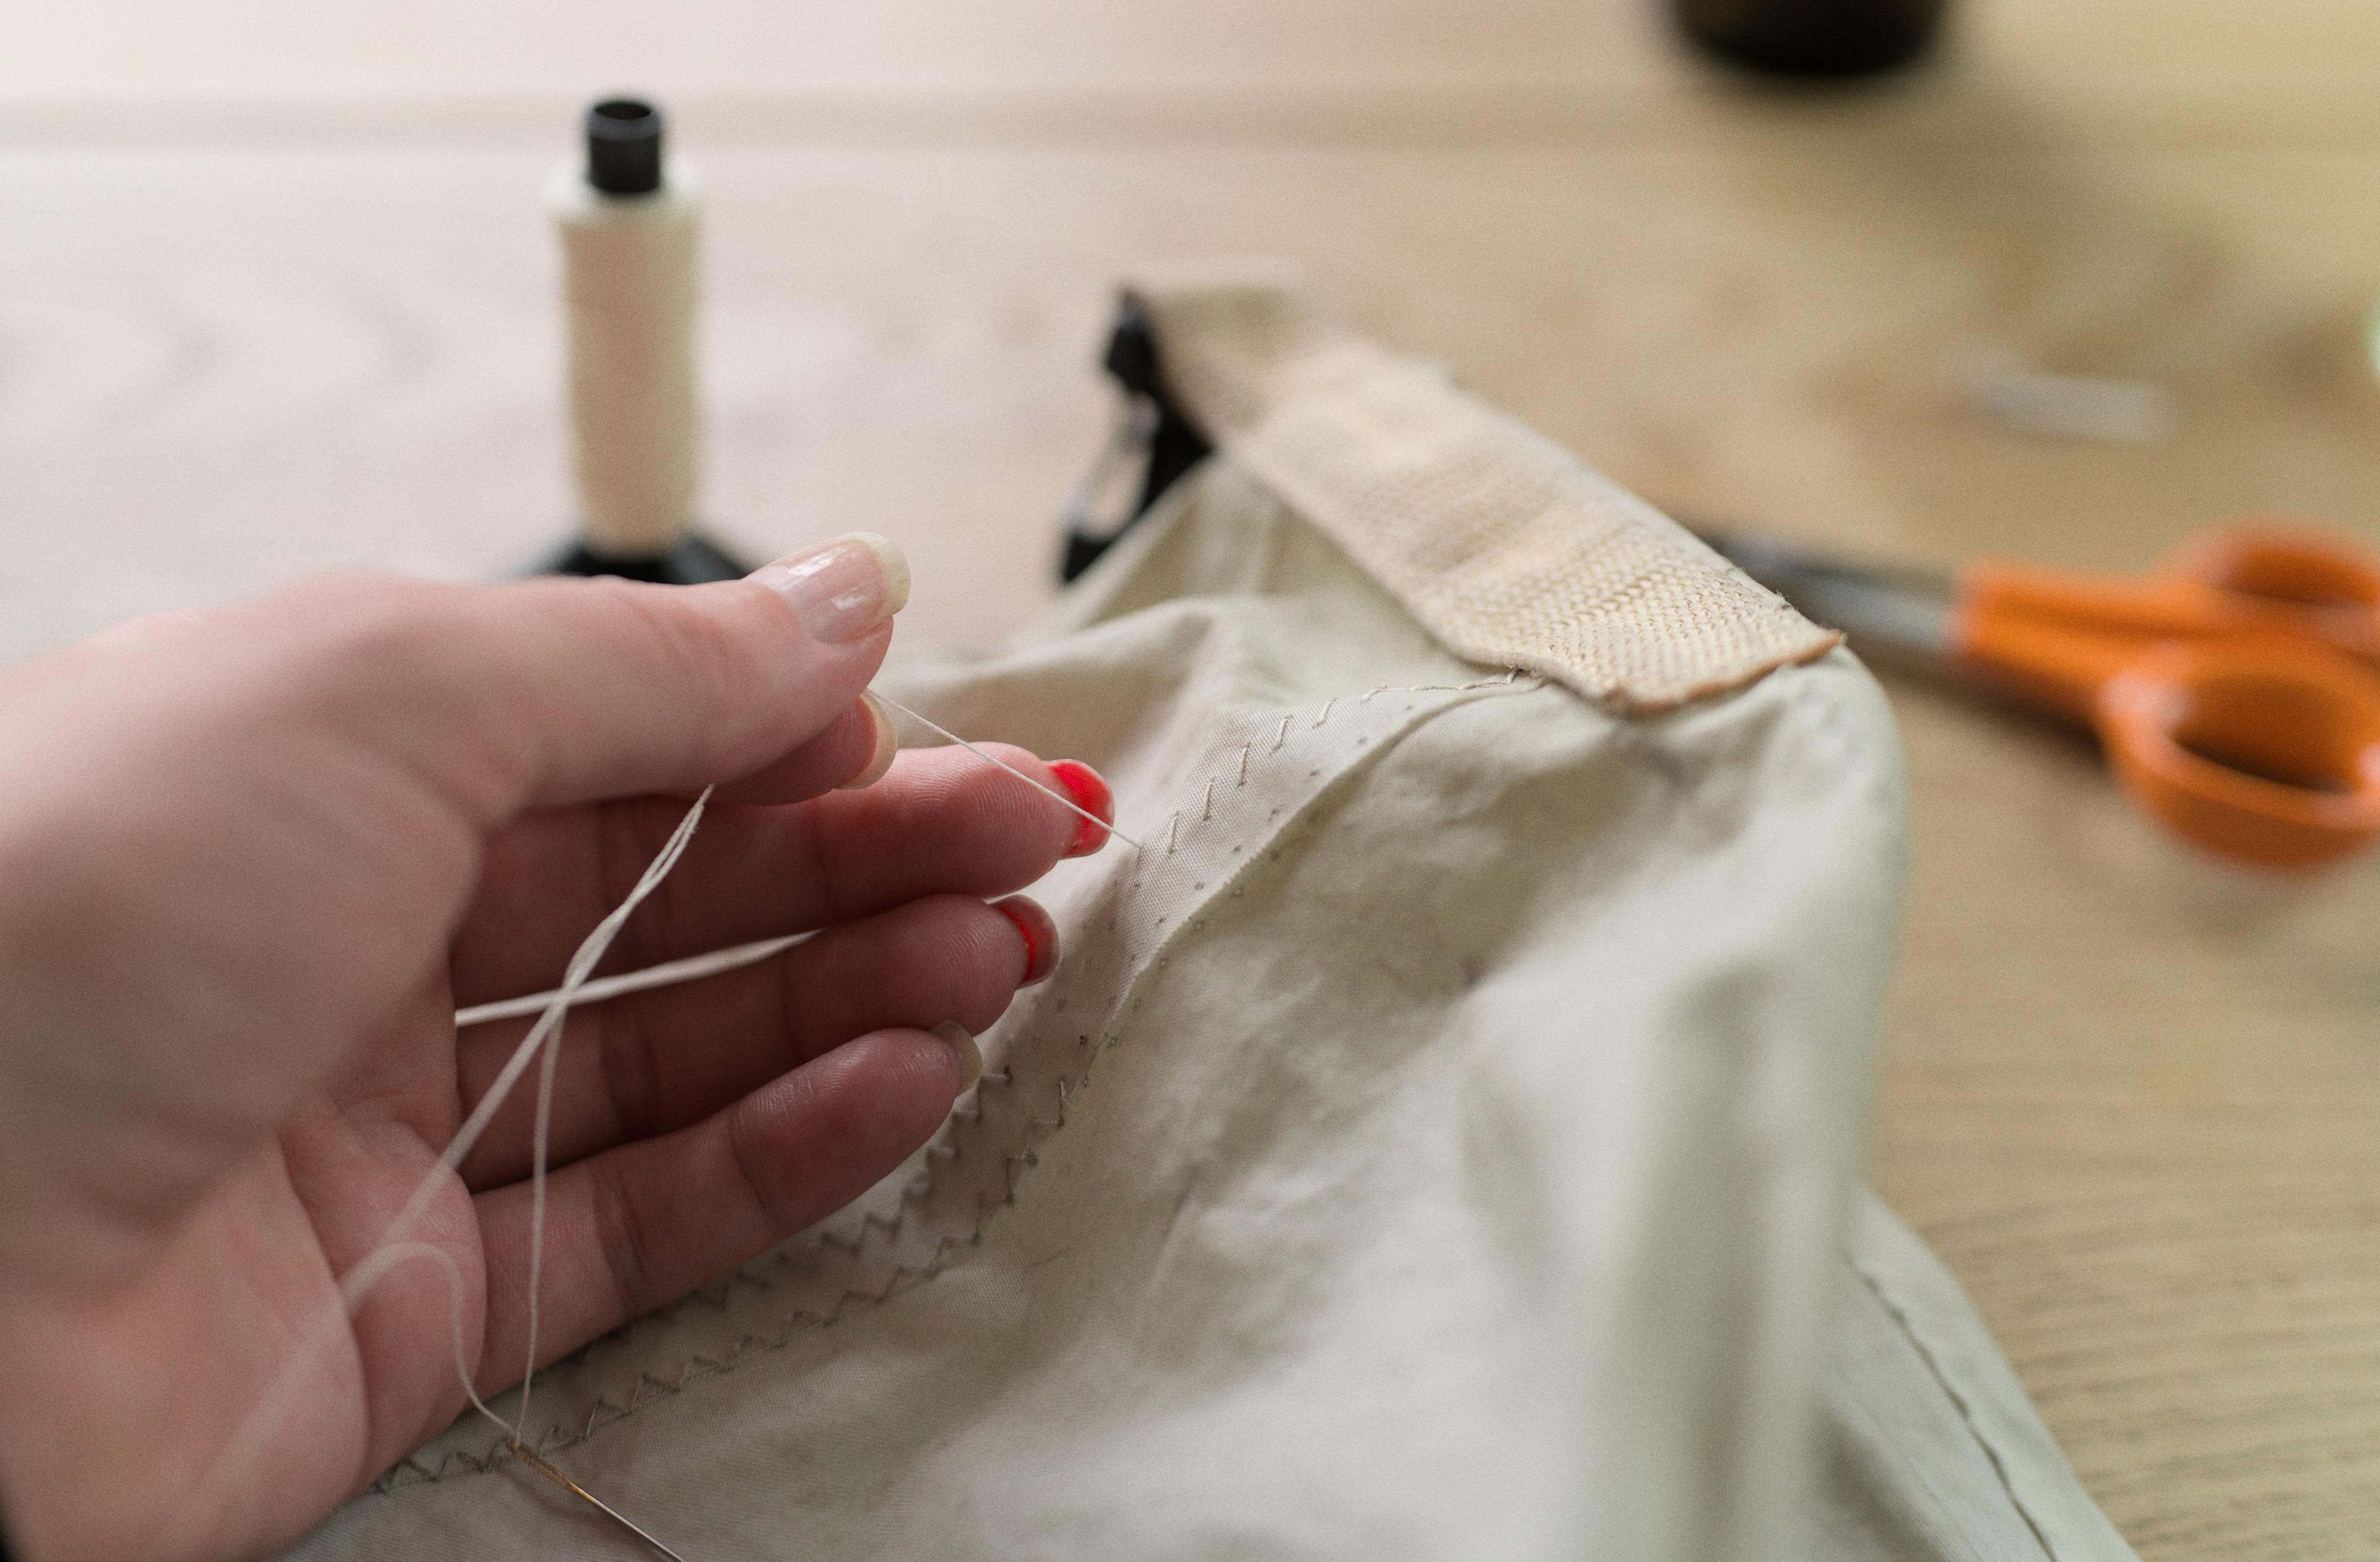
At the end of the first run, I'm backstitching. Then, I bridge over to
the other run and backstitching there again before going back up.
Almost at the top again.
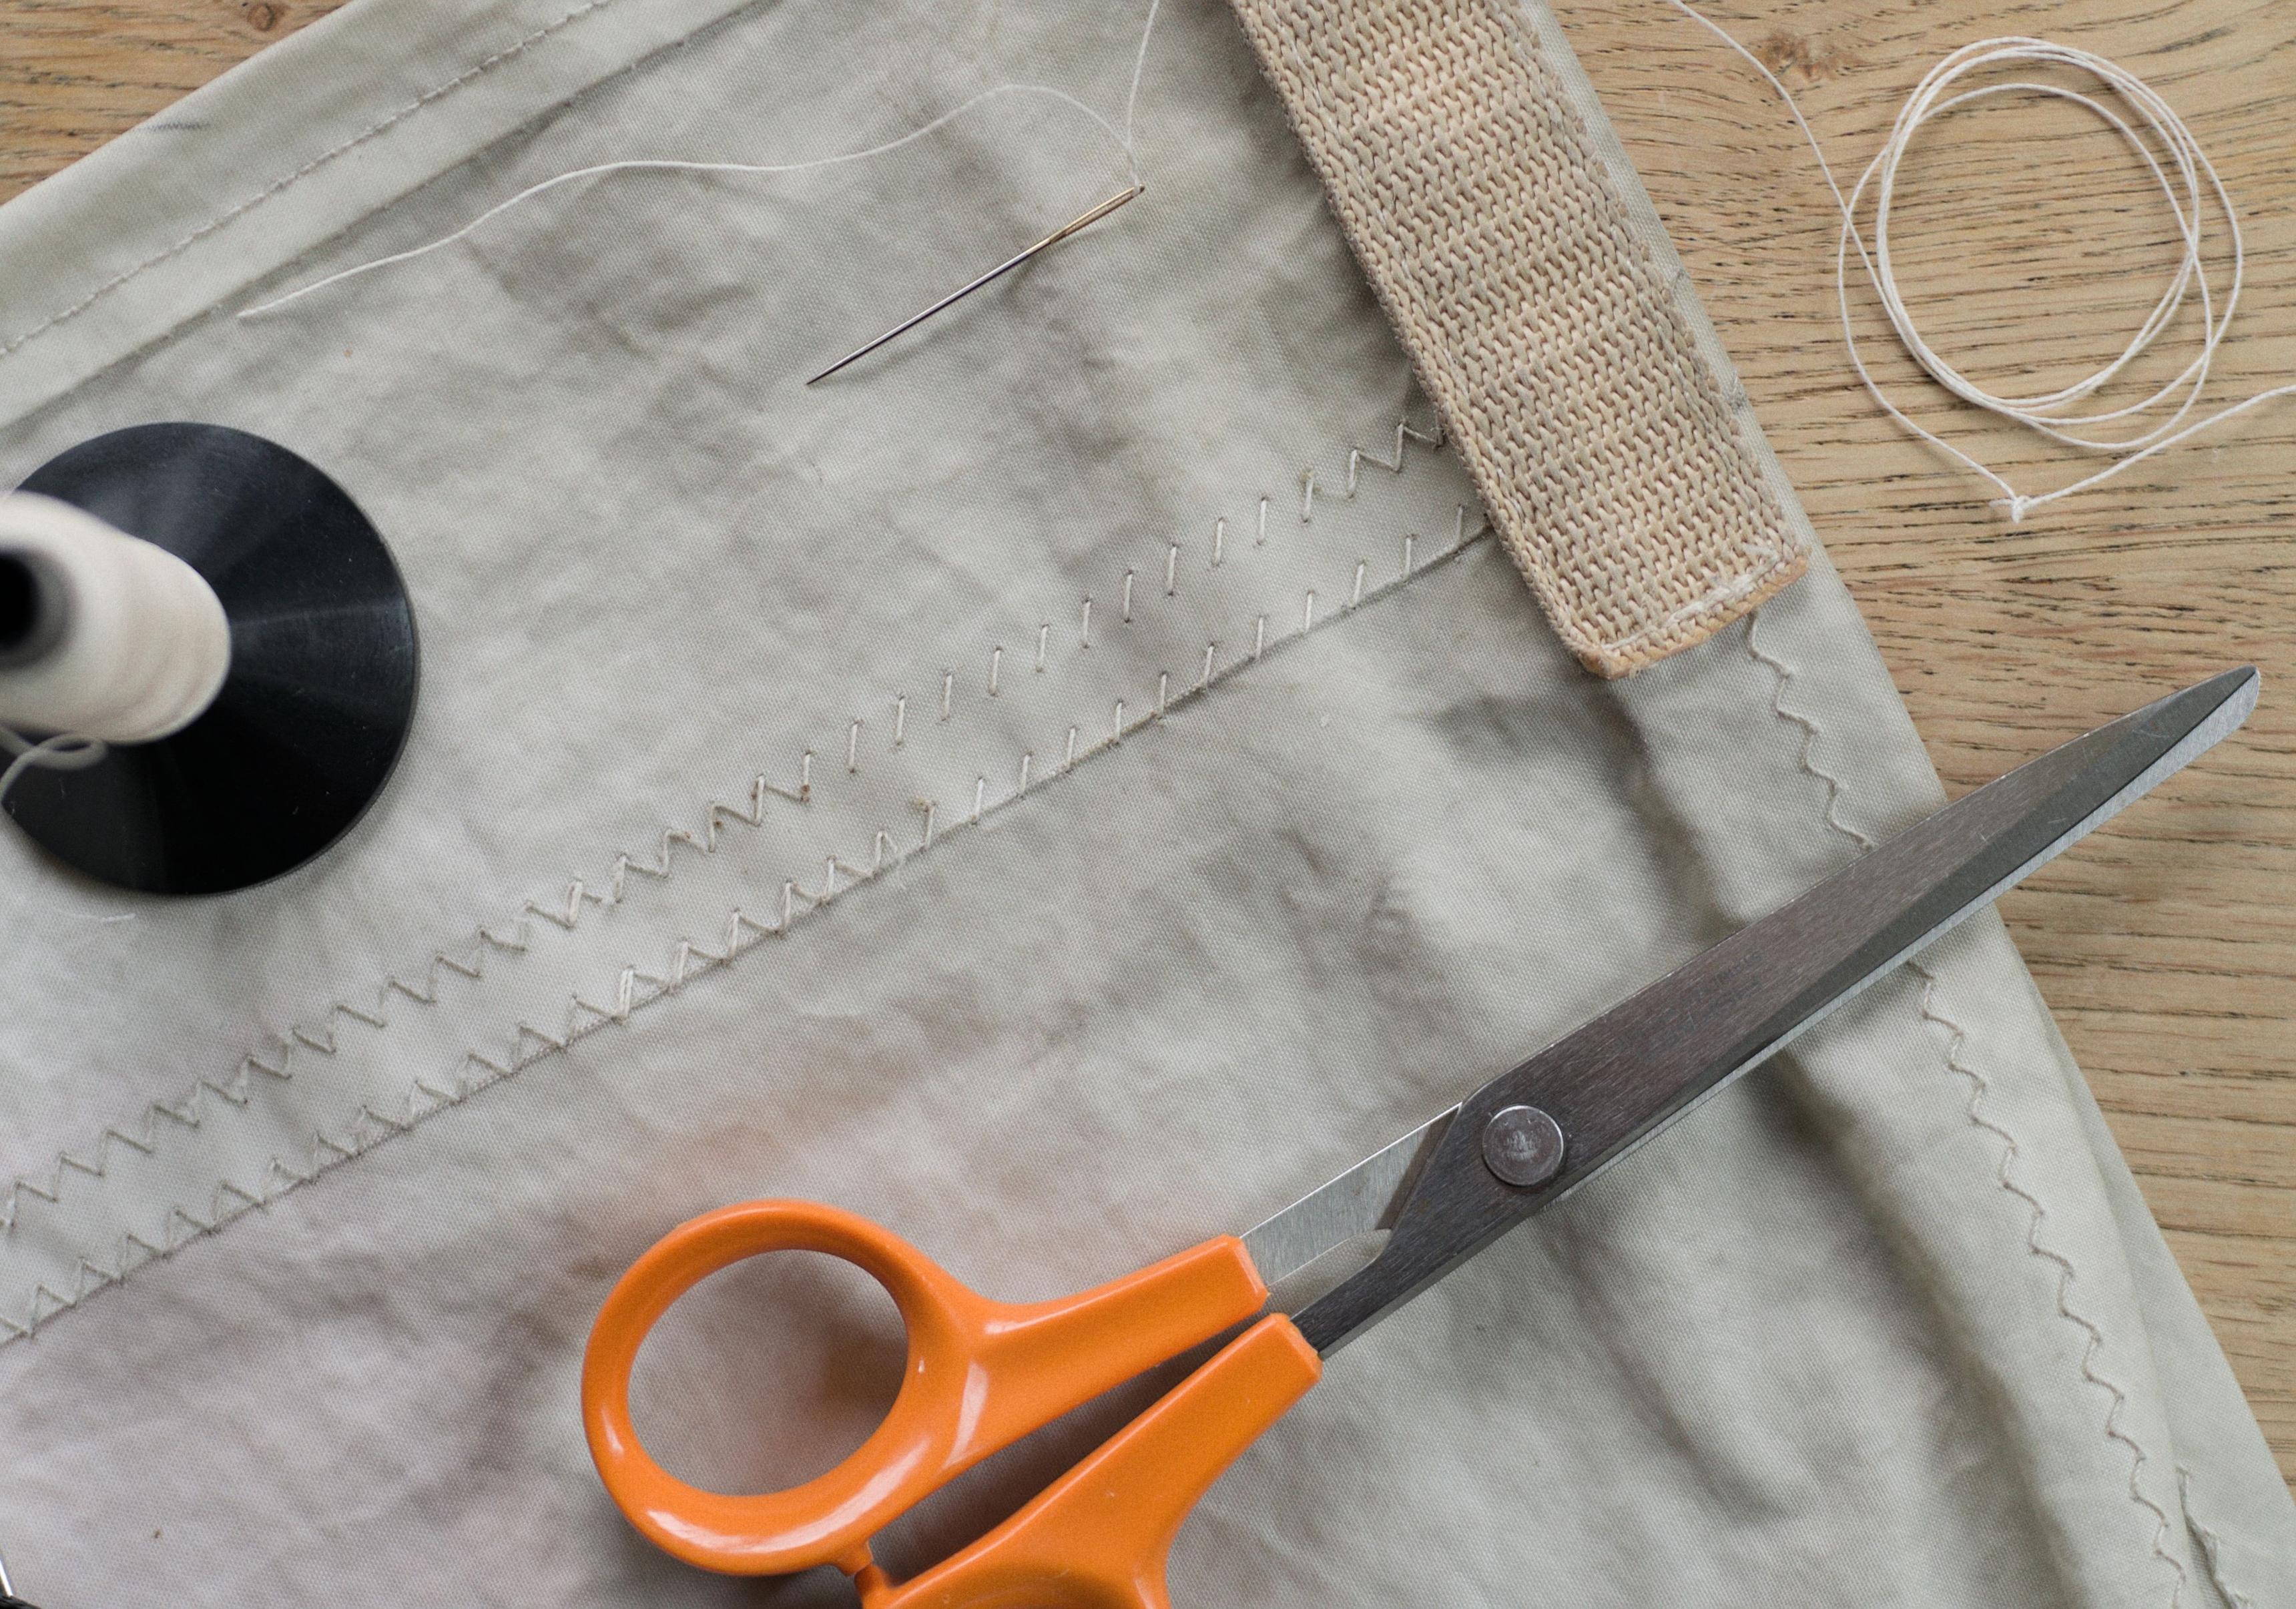
The finished repair looks beautiful and it is very sturdy. Simple
materials and simple tools: A needle, thread, and a pair of scissors.